Visiting Chaco Canyon with Dogs


What is Chaco Canyon?
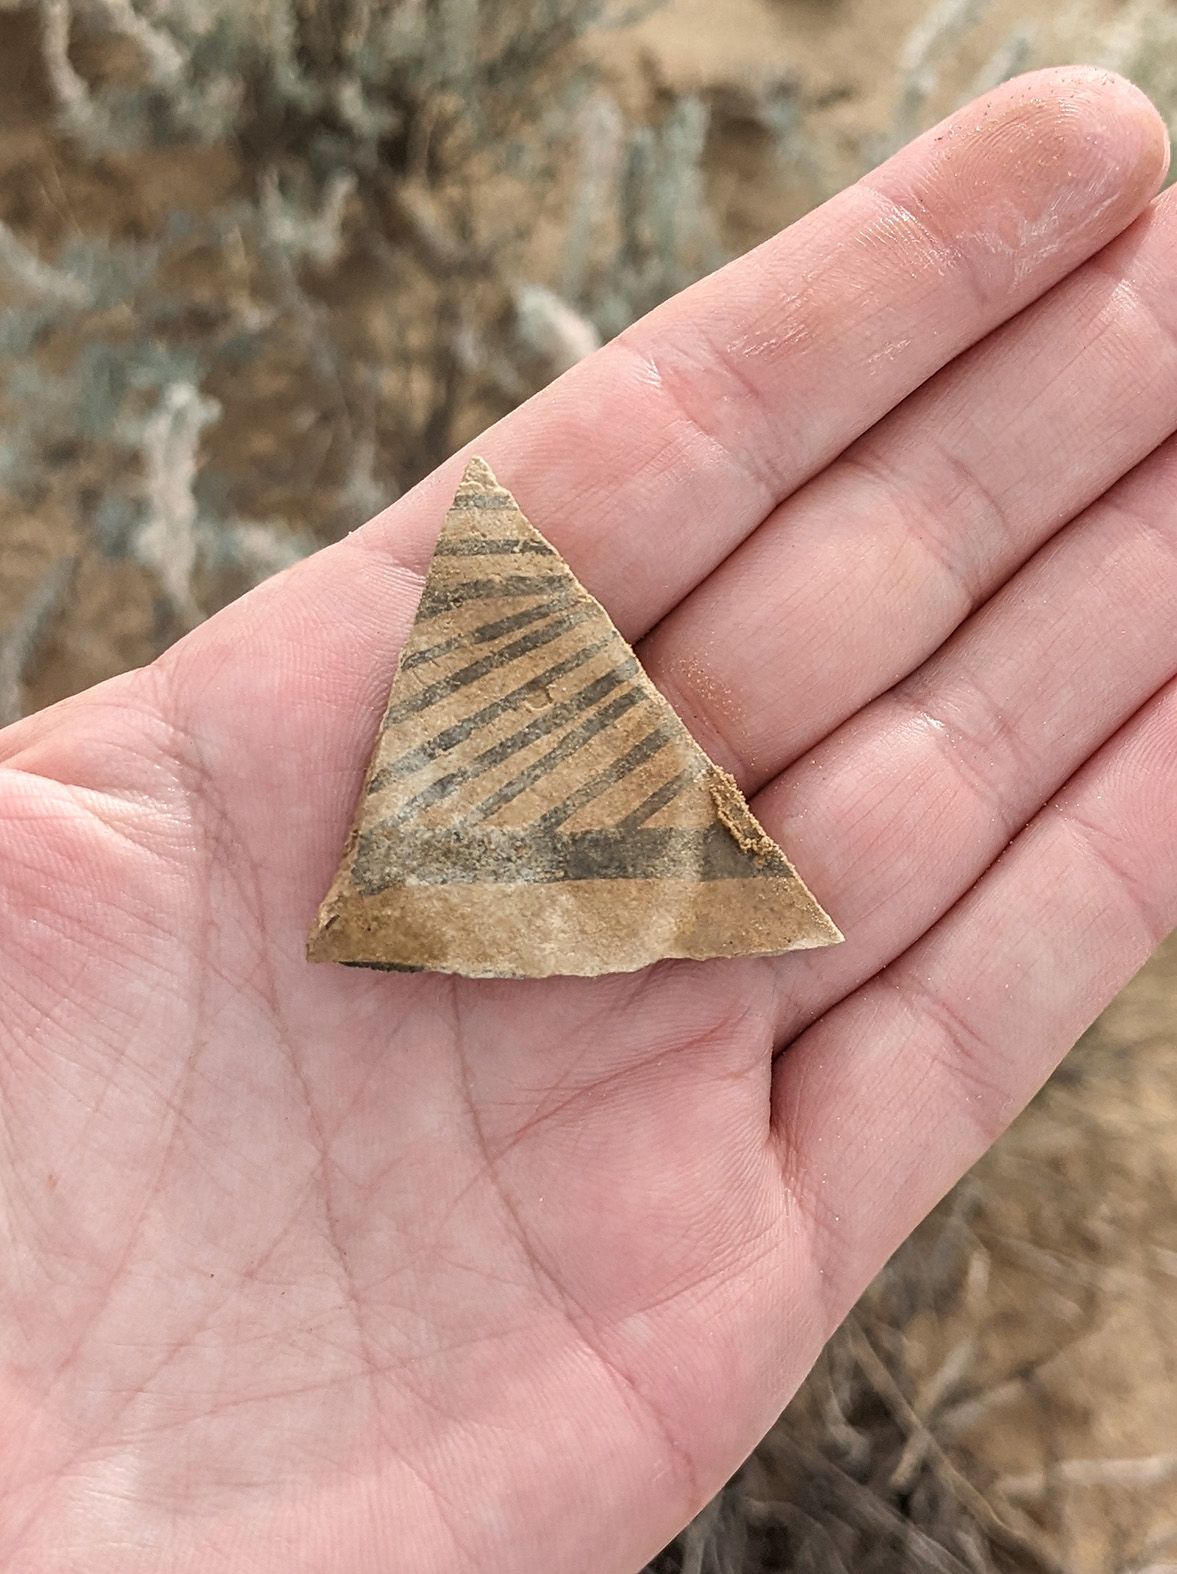
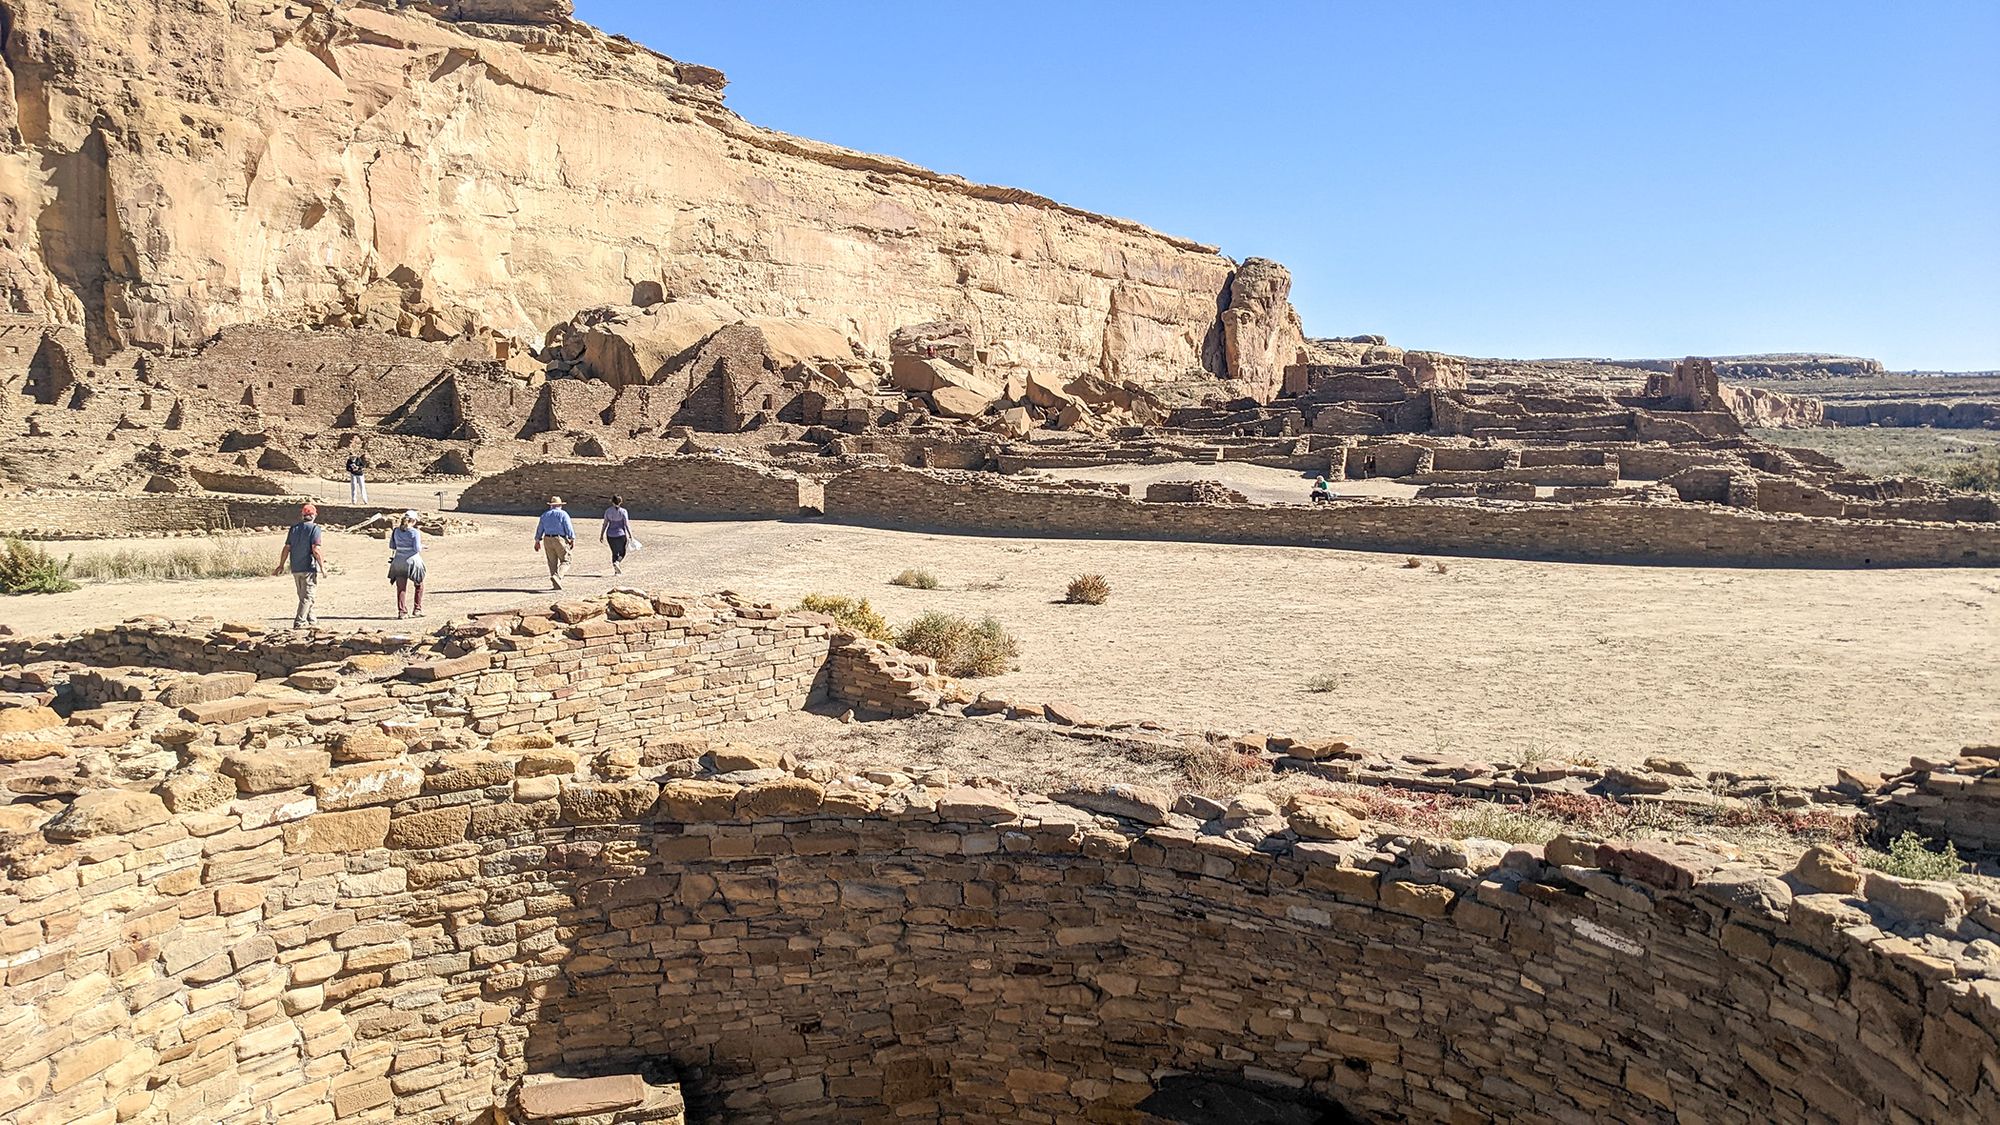
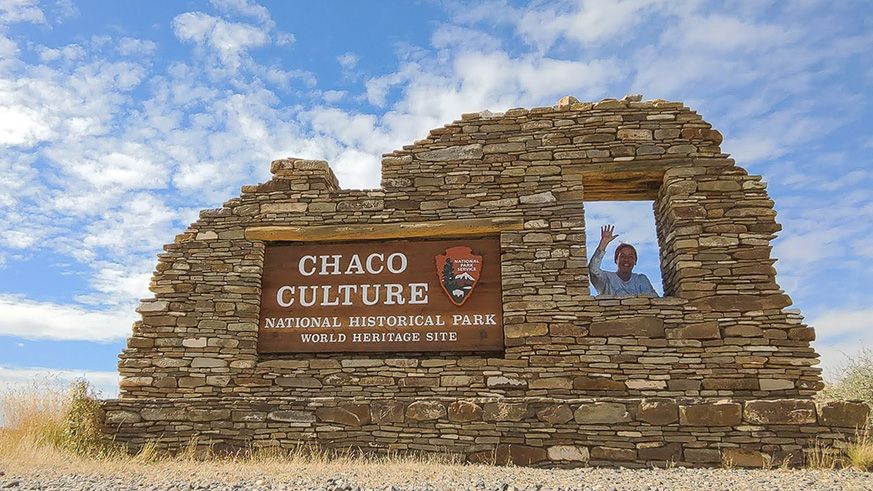
The Chaco Canyon, in northwest New Mexico, was a hub of Native American cultures from around years 800-1100. It's now protected by the Chaco Culture National Historic Park as a World Heritage Site. It contains several ruins of a very distinct architectural style, and likely served mostly as a special gathering place of religious or trade importance, with relatively few people actually living in the villages. Almost everything in Chaco Canyon is built to align with solar and lunar events, such as the direction of sunrise on a solstice day. It's a fascinating place to visit, and there are a lot of things you can do with your dog!
Where to Stay
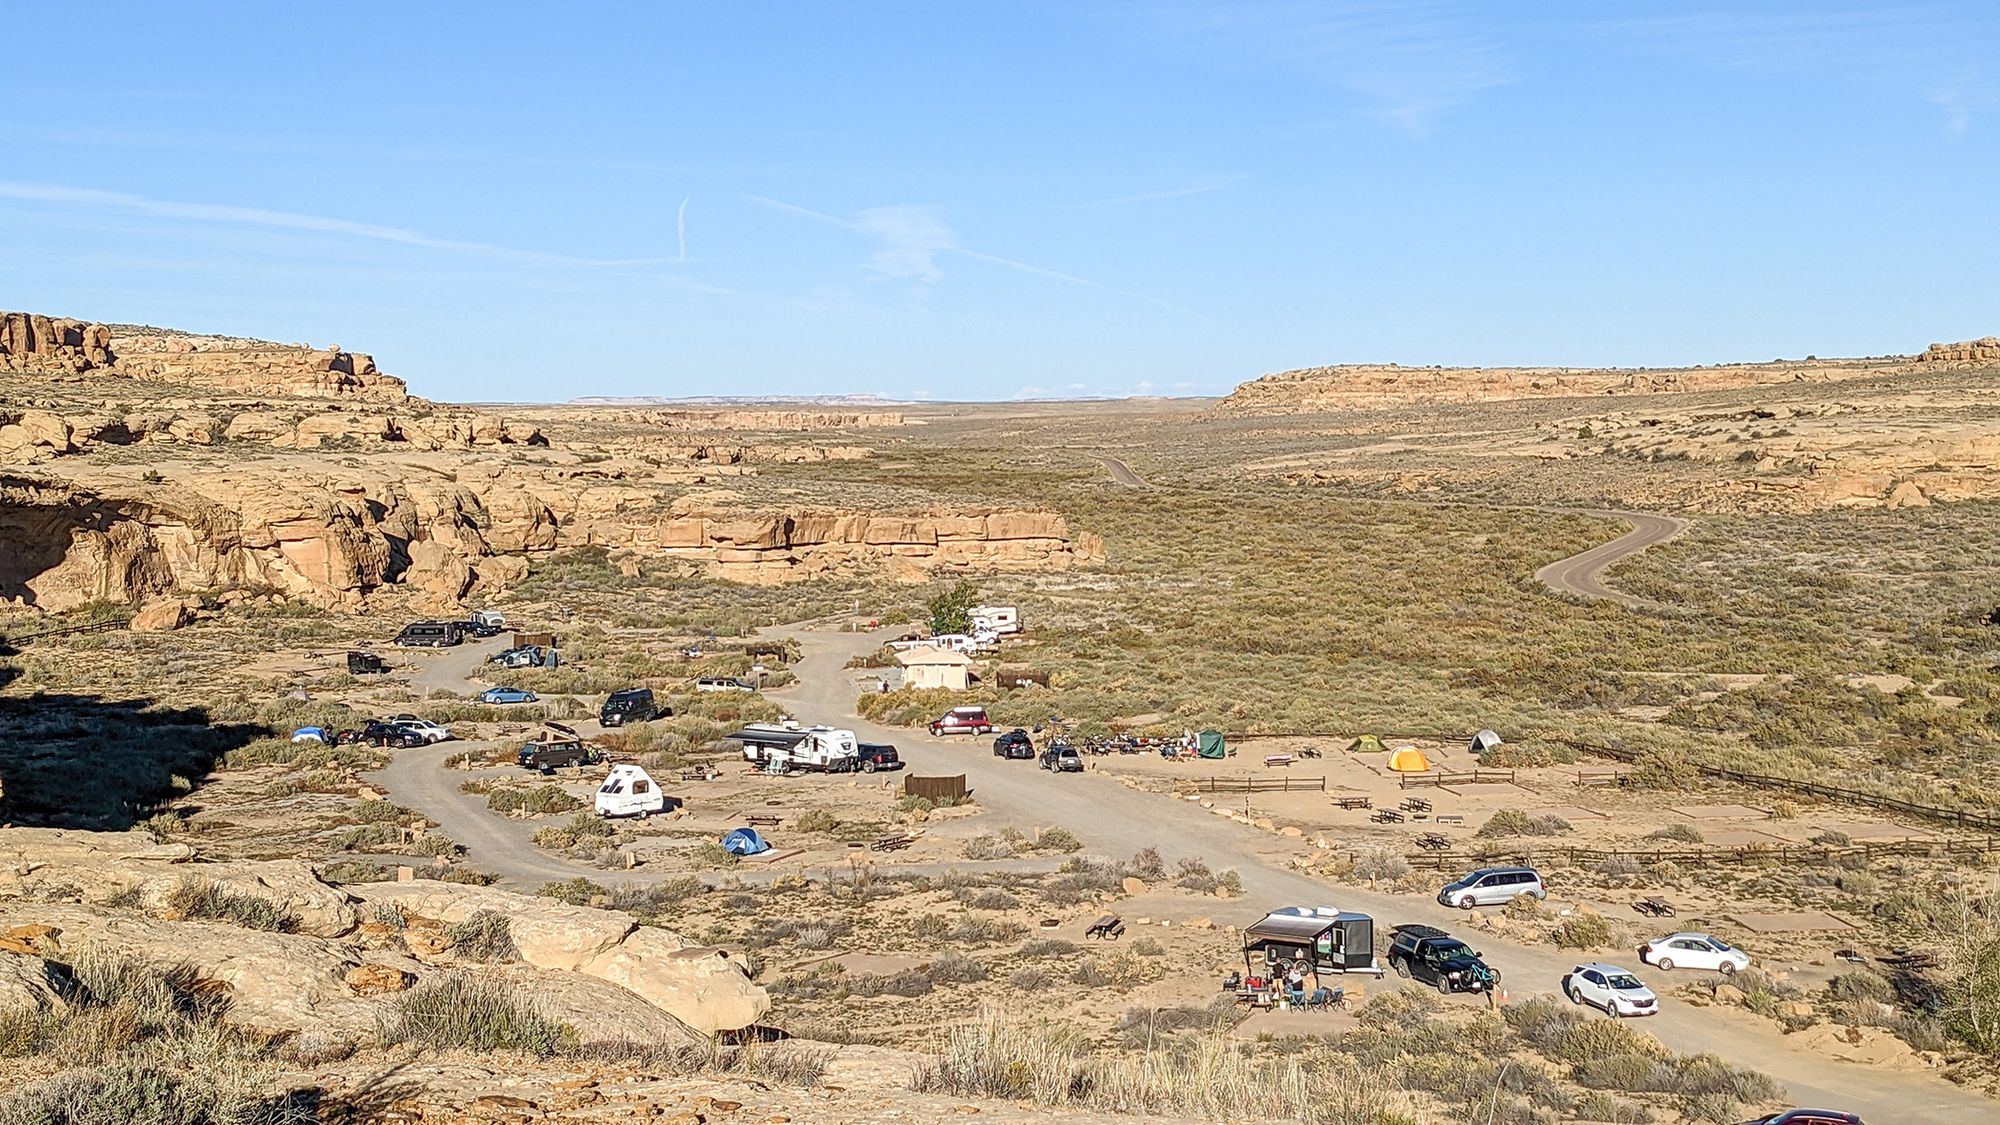
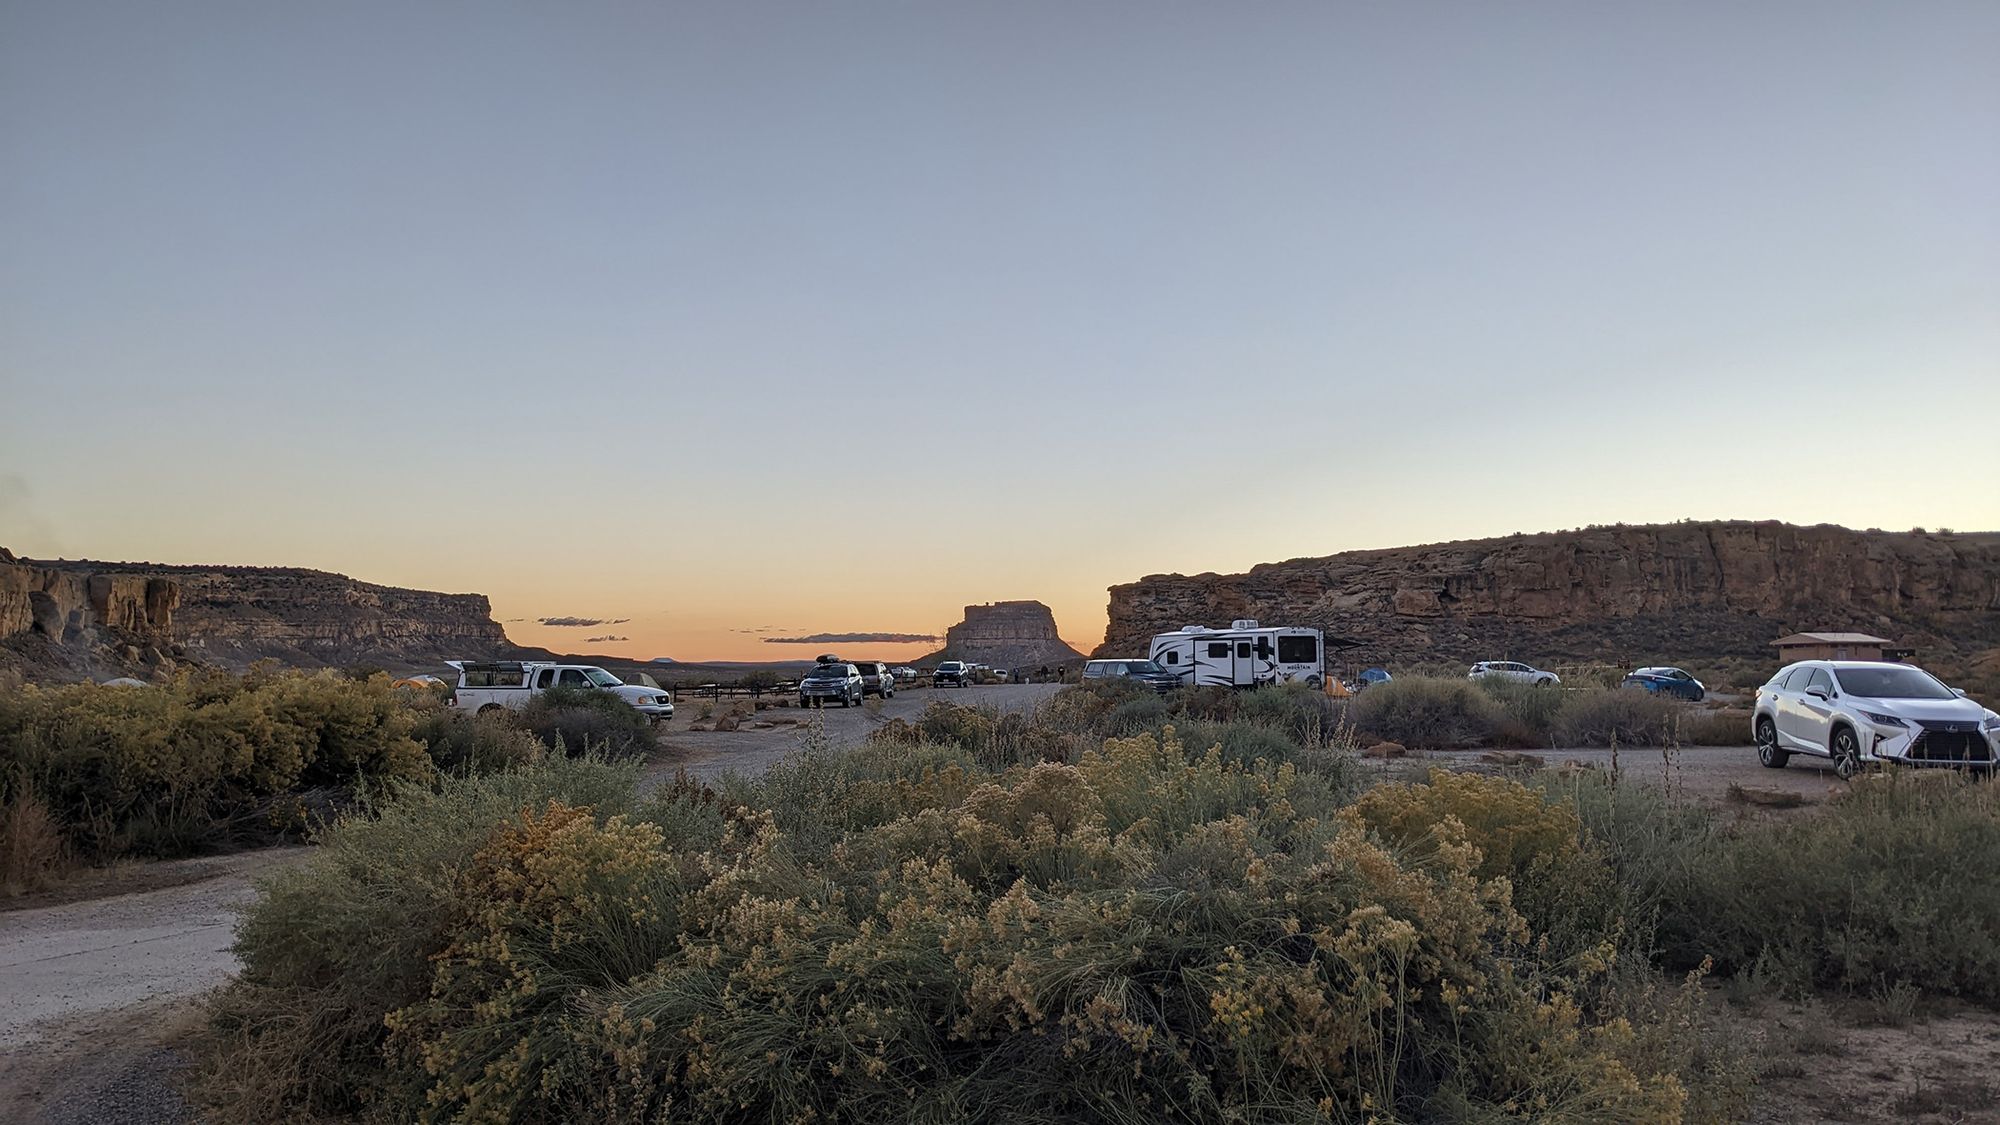
There is only one campground at Chaco, and it’s in high demand. Reservations open on a 3-month rolling basis. For us, I found the best approach was to check daily, close to when the window we wanted was said to open for reservations. The exact date a campsite can be reserved depends on when the prior reservation ends.
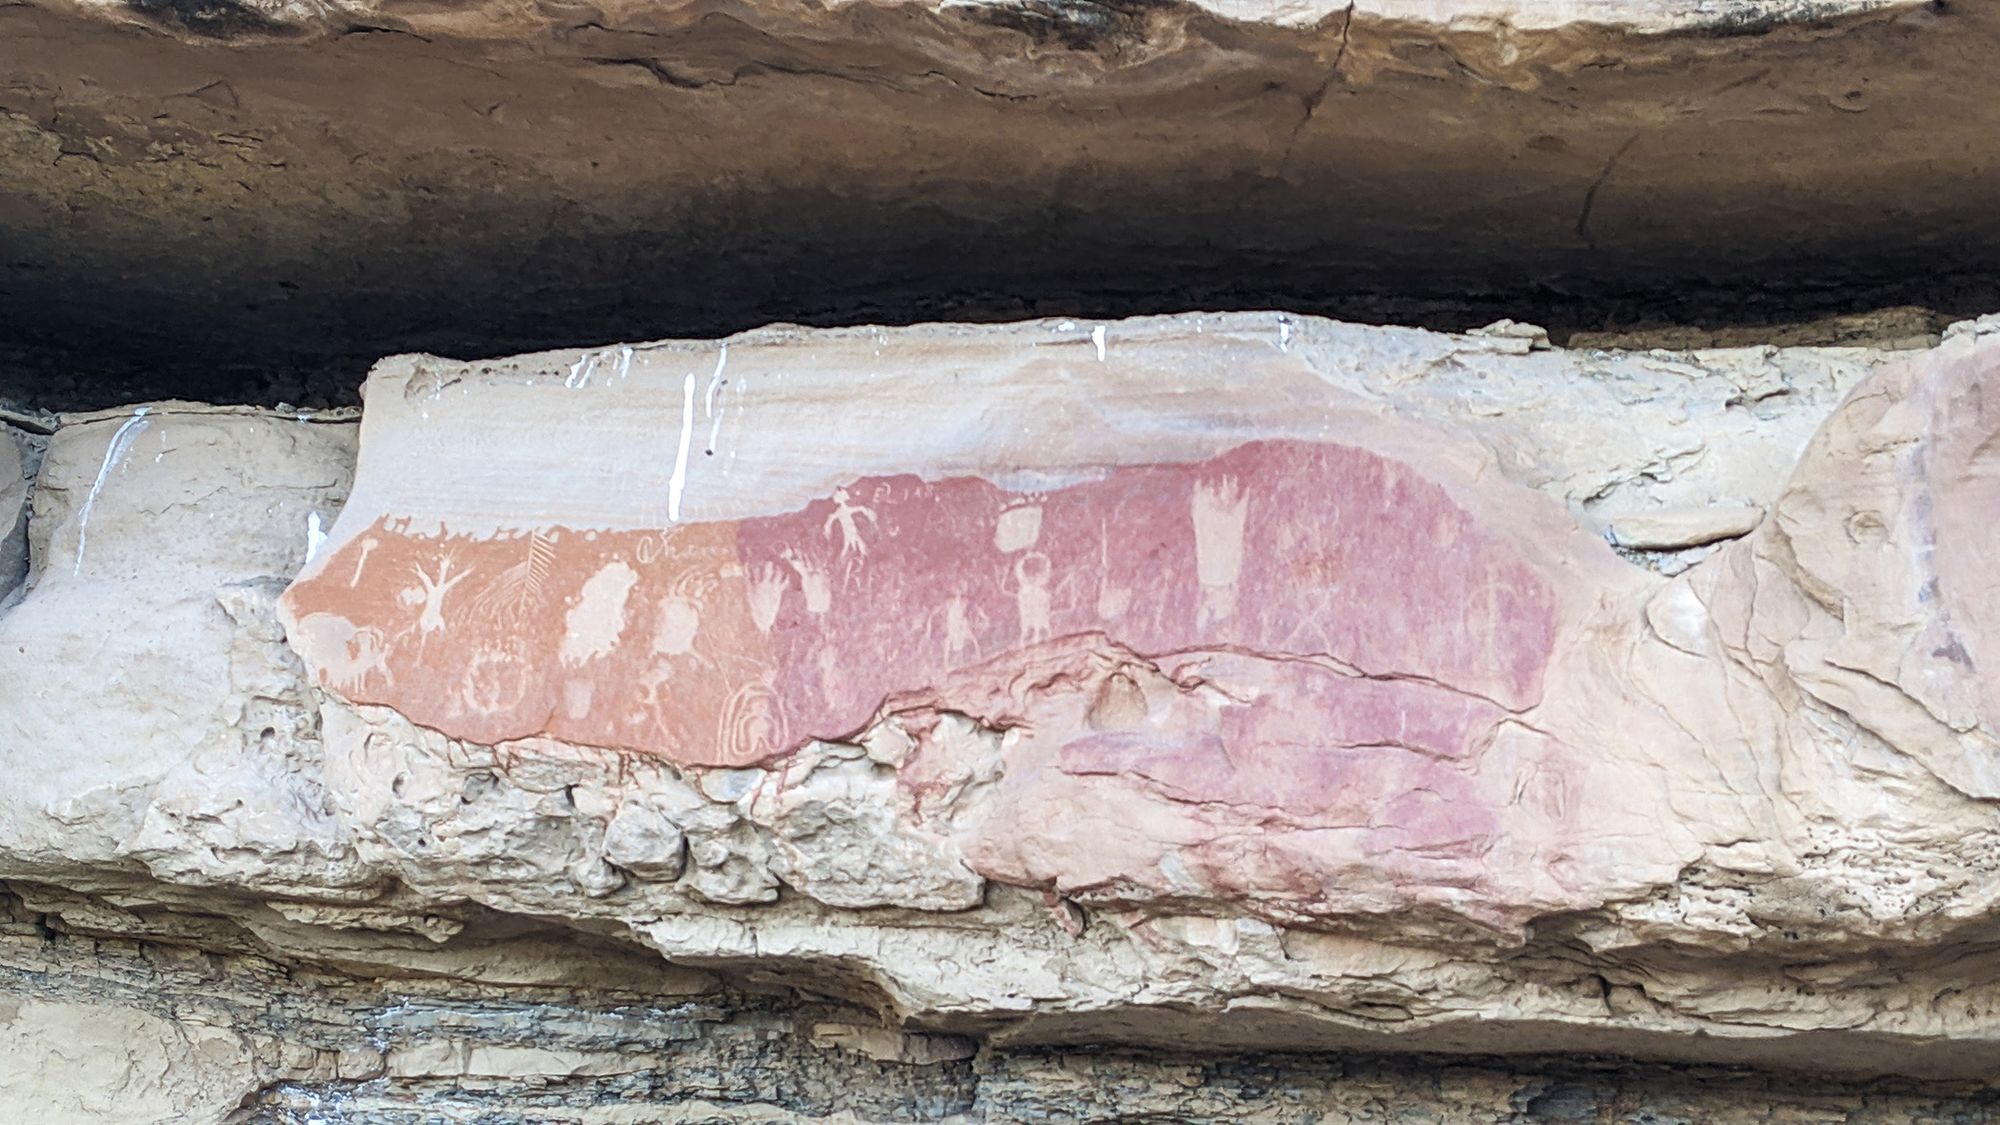
We stayed in site 23 which had a view of a cliff dwelling and many petroglyphs nearby. We paid $20 per night.

If you're unable to get a reservation you could try your luck as all unreserved campsites become "first come, first serve" after 11 am. During our 3-night stay, the most we saw were two open sites. NPS has suggestions on alternate camping — including Angel Peak Scenic Area — but none are that close. Driving in from 550, we saw a "Dry Camp" sign for a private lot called Horse Thief campground. Since RVs and Trailers over 35' aren't allowed at Gallo Campground, this may be a good option for larger rigs or those that can't get a reservation at Gallo.
Pros for Gallo Campground
- Proximity to historic sites. Some hikes begin at the campground.
- Water bottle & jug fill-up station
- Flush toilets & sink
- Amazing night sky!
- Petroglyphs and cliff dwellings within the campground
- Dump station
Cons for Gallo Campground
- No shade structures
- No showers
- Sites close to each other
- Can be hard to get a reservation
- No cell signal
When to Visit
We read that Spring and Fall are the best times to visit Chaco due to the weather. We booked October 18th-21st, assuming we’d be bundled up for most of the trip since the park is at 6,200 ft elevation. I’m typing this from our campsite, in shorts and a tee shirt. This region’s weather requires a range of clothing. At dawn, it was close to freezing. By noon we were in shorts and t-shirts trying to escape the harsh sun. Don’t let weather forecasts showing 60-degree temps fool you into thinking it won’t be hot. The sun is intense!
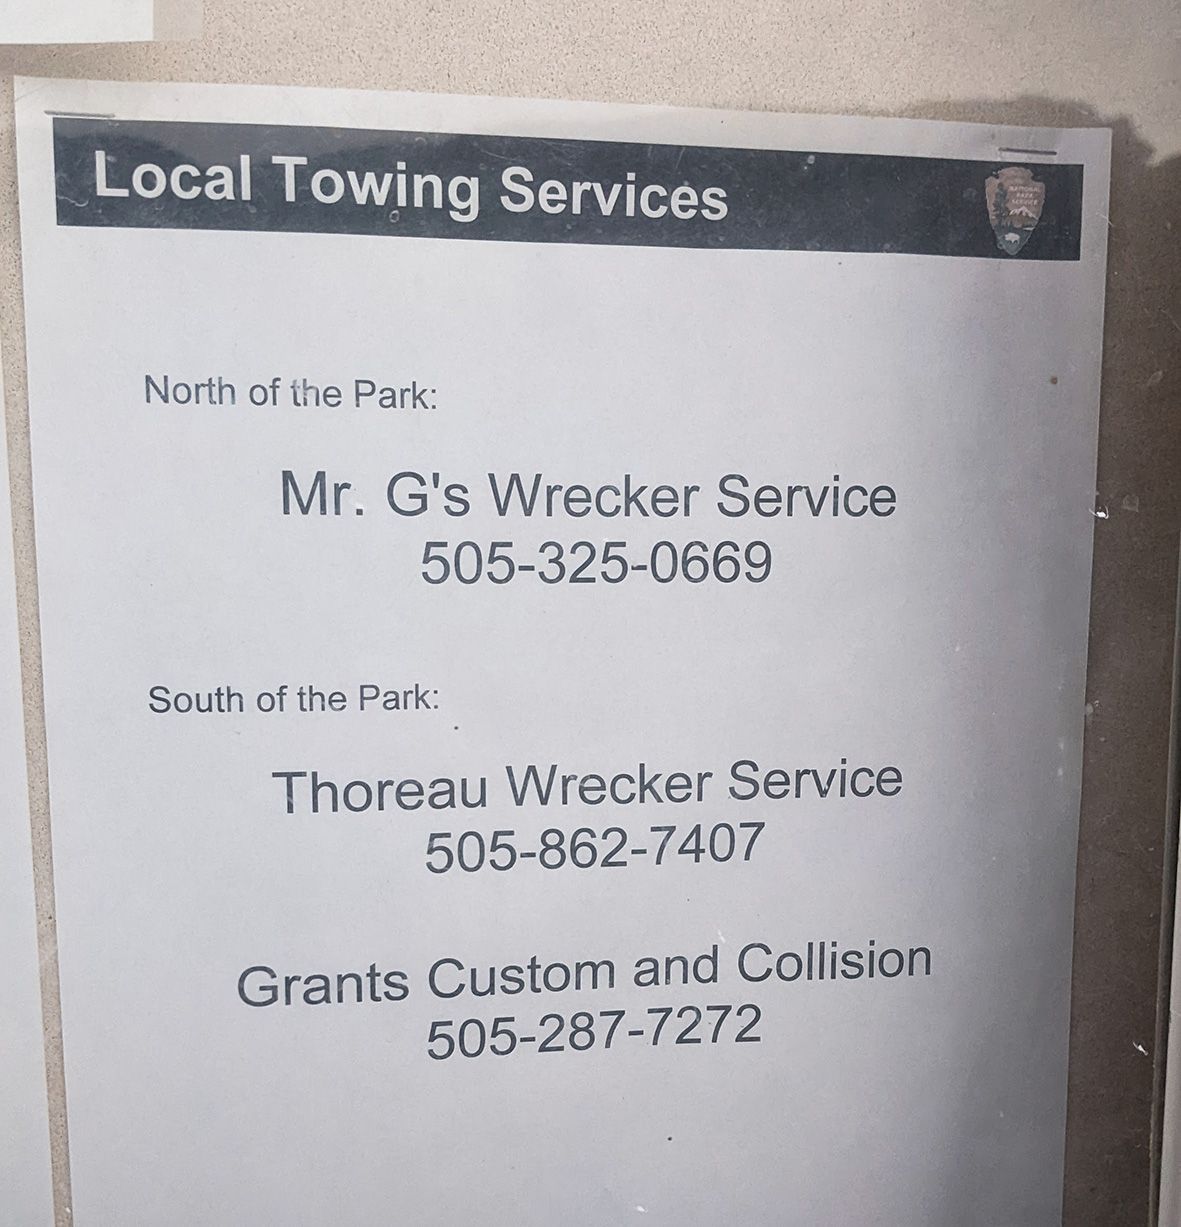
What to Bring
This is not the kind of national park you can just roll into and figure it out when you get there. Do all your research ahead of time and have important things printed out. Bring everything you think you may need, because trust us, you don’t want to leave the park once you’re in it. The location is remote, and the nearest town with services is a far drive. Bring enough food for you and your pets. There is water at the park, but there’s no food or services (like gas). Bring first aid supplies for you and your pets, and know where you plan to go in case of emergency ahead of time (have the info below printed out before you go). We'd also suggest calling some nearby vets to see if they'll take a visiting dog in as an after-hours emergency visit if needed. We like Valley Vet and San Juan Veterinary Hospital in Farmington but call before your trip to make sure they're accepting new patients for emergencies. And keep in mind it's about a 1.5-2 hour drive from Chaco.

Getting There
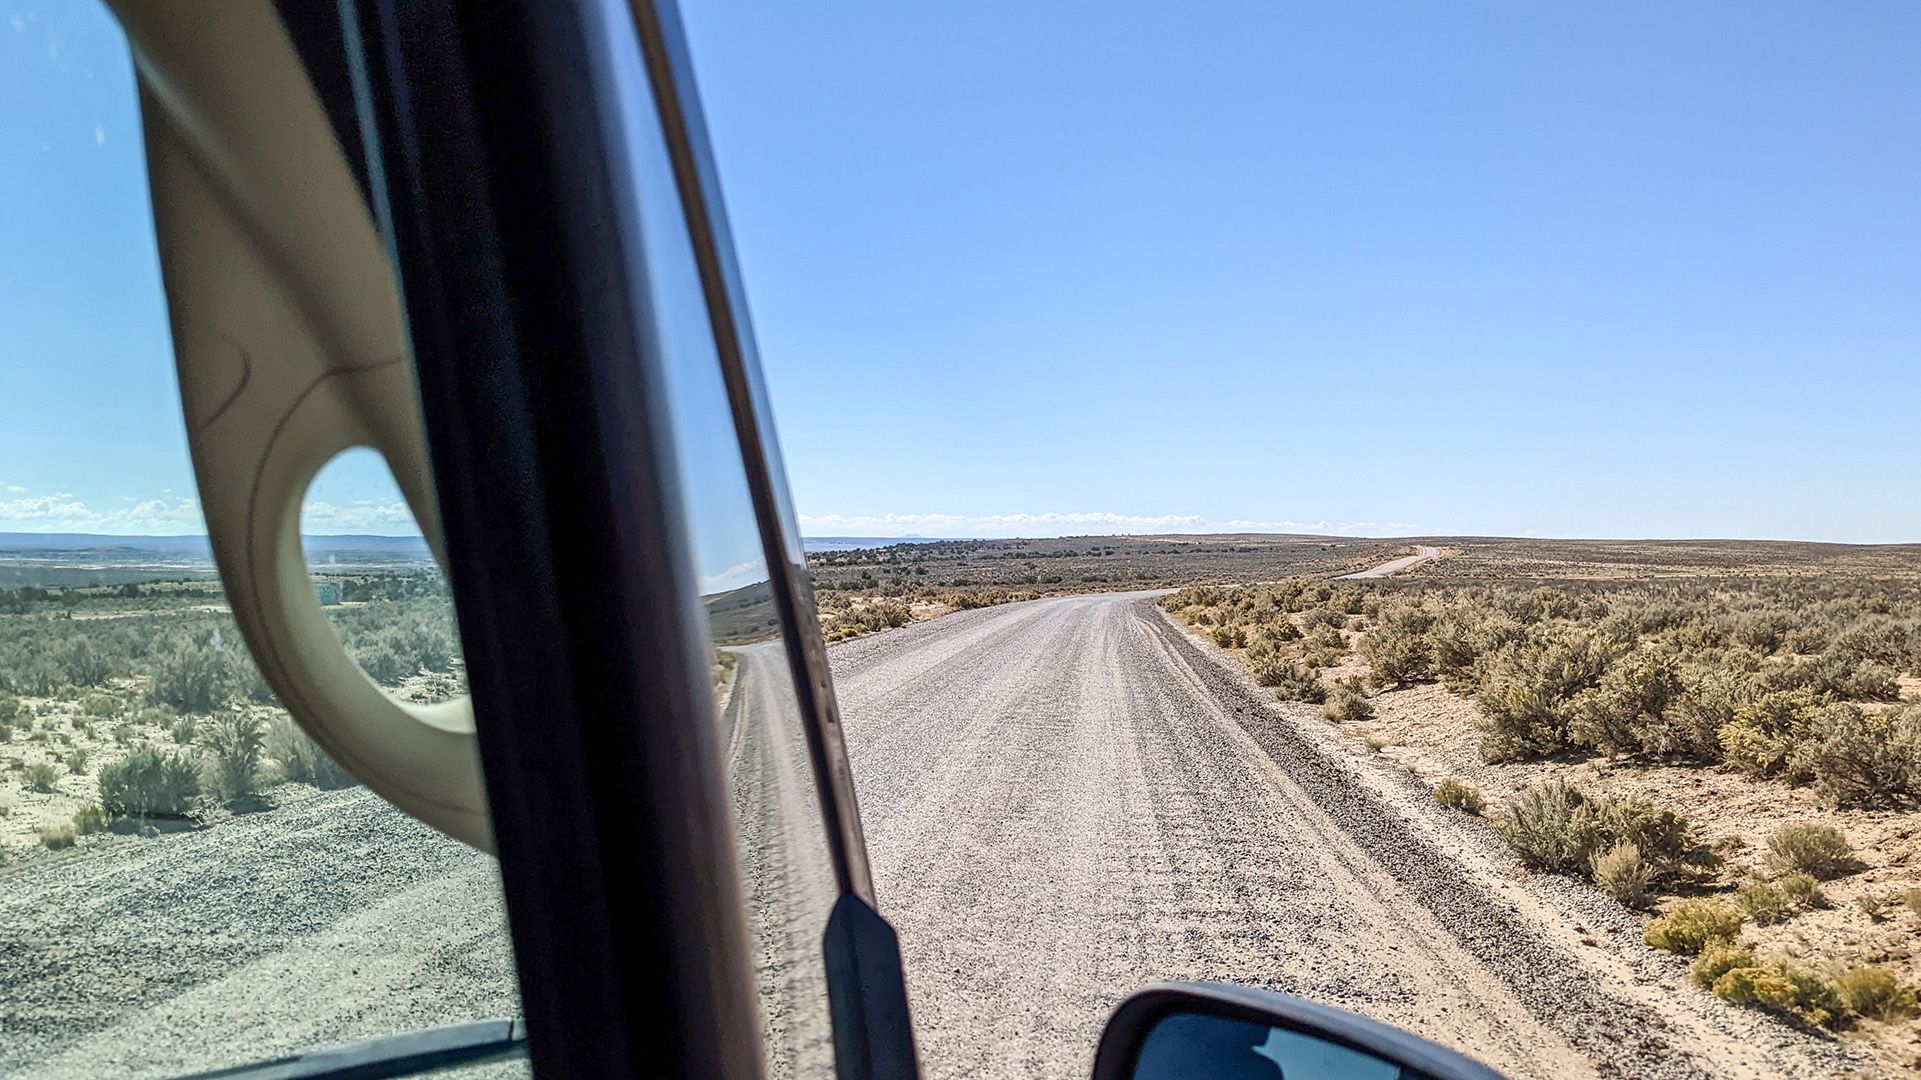
You've probably heard stories about the road to Chaco. Take the route from Nageezi, US-550 to CR-7900 to CR-7950 (do not even think of using highway 57 from the south unless you like off-roading). This access road has 13 miles of washboard dirt road — and that's the easy part, on the easiest approach route. There is a dam-like paved section across a wide wash that has a sign to not cross if you see any water. The last few miles closest to the park have up to 1-foot-deep ruts you need to navigate, and this is the stretch that truly becomes impassable after rain. Less robust tires have been known to get punctured. Trailer contents will get shaken, not stirred. Cabinet doors have been broken.
Luckily we had dry weather leading up to our visit, which made our drive a bit easier than expected, but it still was not fun! (NPS if you’re reading this, you need a gift shop tee that reads, "I survived the drive to Chaco." I would have bought that!) In dry weather, we made it just fine with our 2-wheel drive, 21-foot-long, Travato van with notoriously low ground clearance (we have a generator under our butt).
Stock up for whatever you need in Farmington or off the I-40. If you need any last-minute supplies or gas, stop at the gas station near the turn from US-550. Once you make the turn, you’ll be on paved roads, then county-maintained dirt roads, then unmaintained dirt roads, until you finally reach the park, where it becomes paved again. It’s 21 miles from the highway to the park. Don't rely on Google Maps or other GPS routing, and don't rely on a cell signal. With offline maps and setting waypoints, a GPS works fine.
What to Do
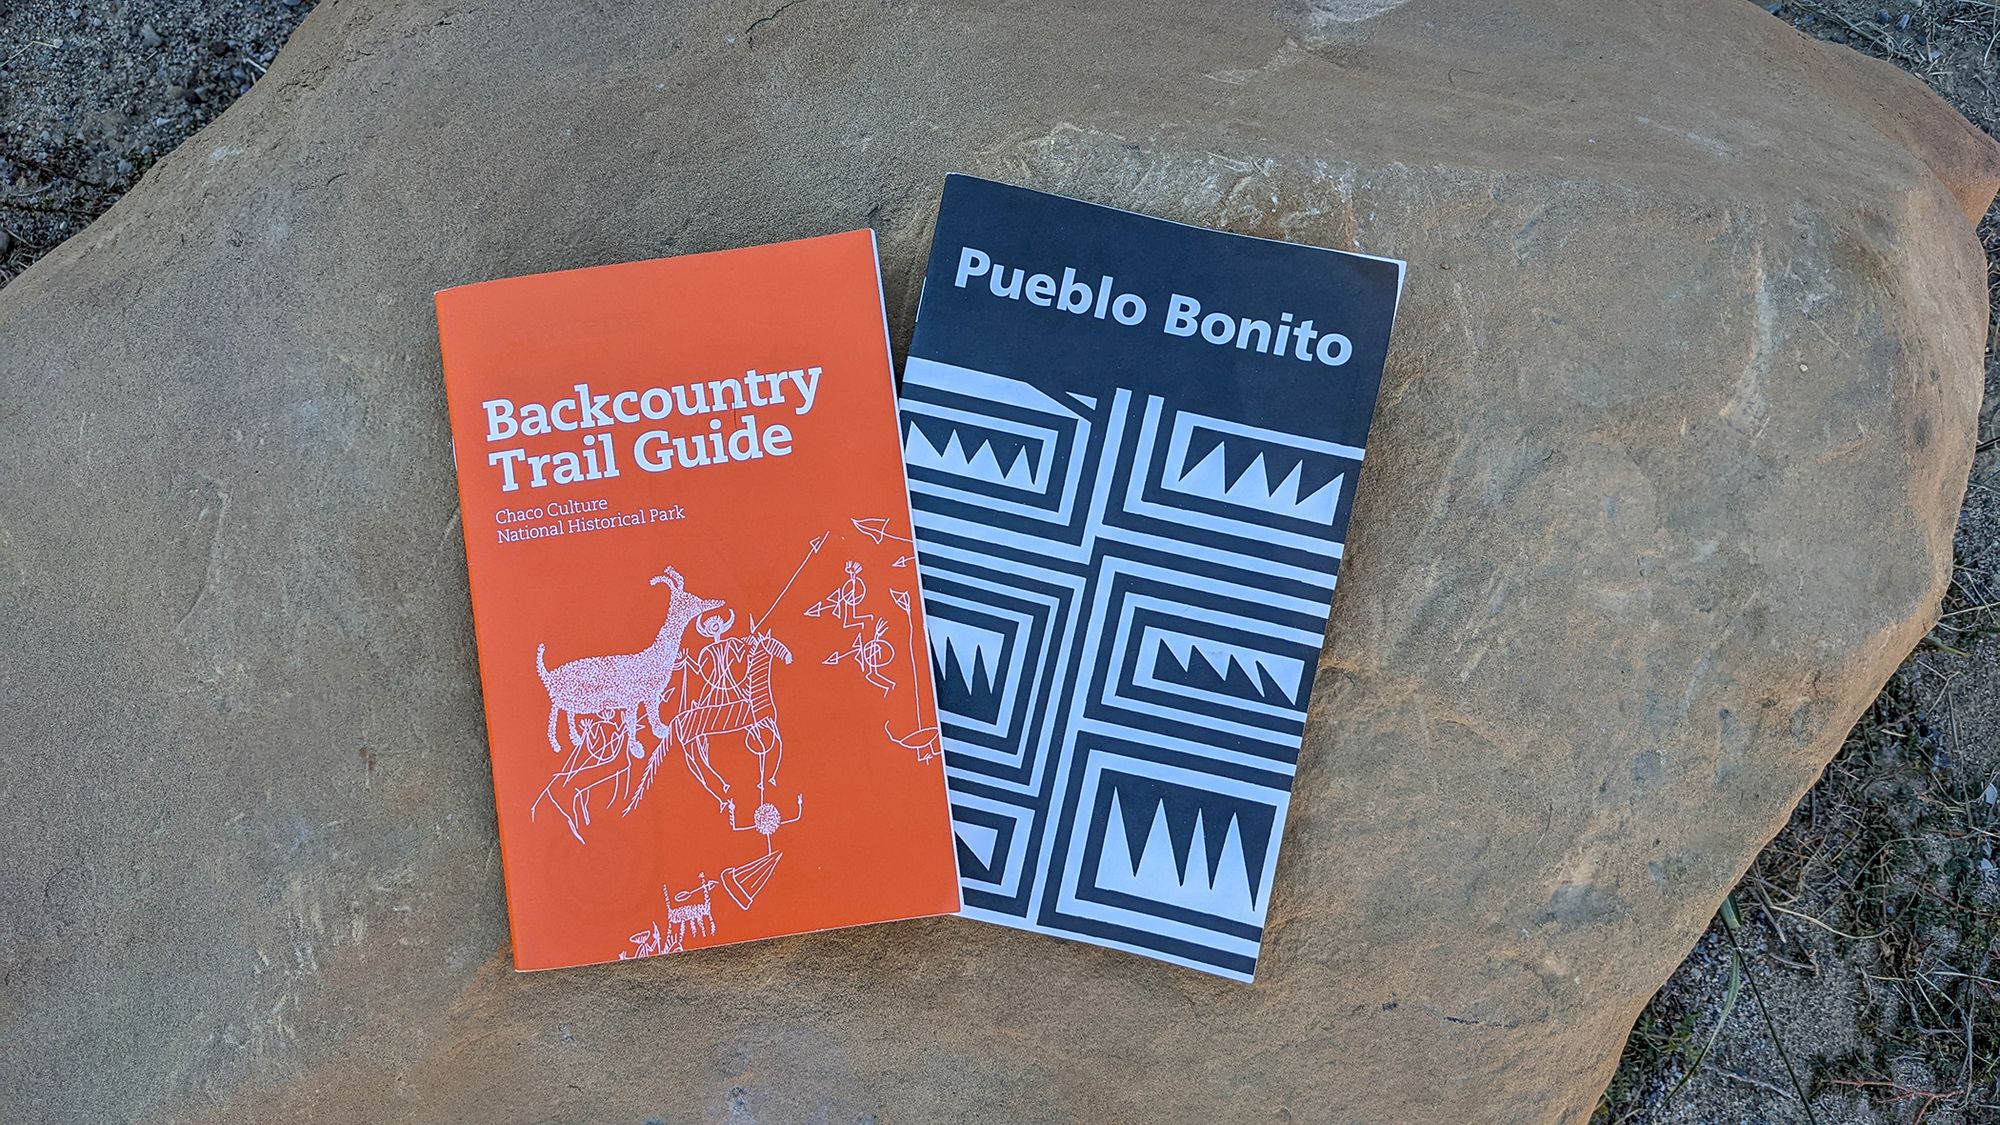
If you got a campsite and conquered the road in — congrats! Now you'll need to stop at the visitor center to pay your entry fee. While you're there, we'd suggest picking up the “Backcountry Trail Guide” and “Pueblo Bonito” printed guides. They’re about $2-$3 each and they came in handy since there’s no cell signal within the park.
We also checked out all of the displays within the visitor center and bought some postcards.
Buy a BARK Ranger tag for your dog’s collar if they don’t have one already! The ones at this gift shop are generic and don't have the park location, but they're still a cool memento.
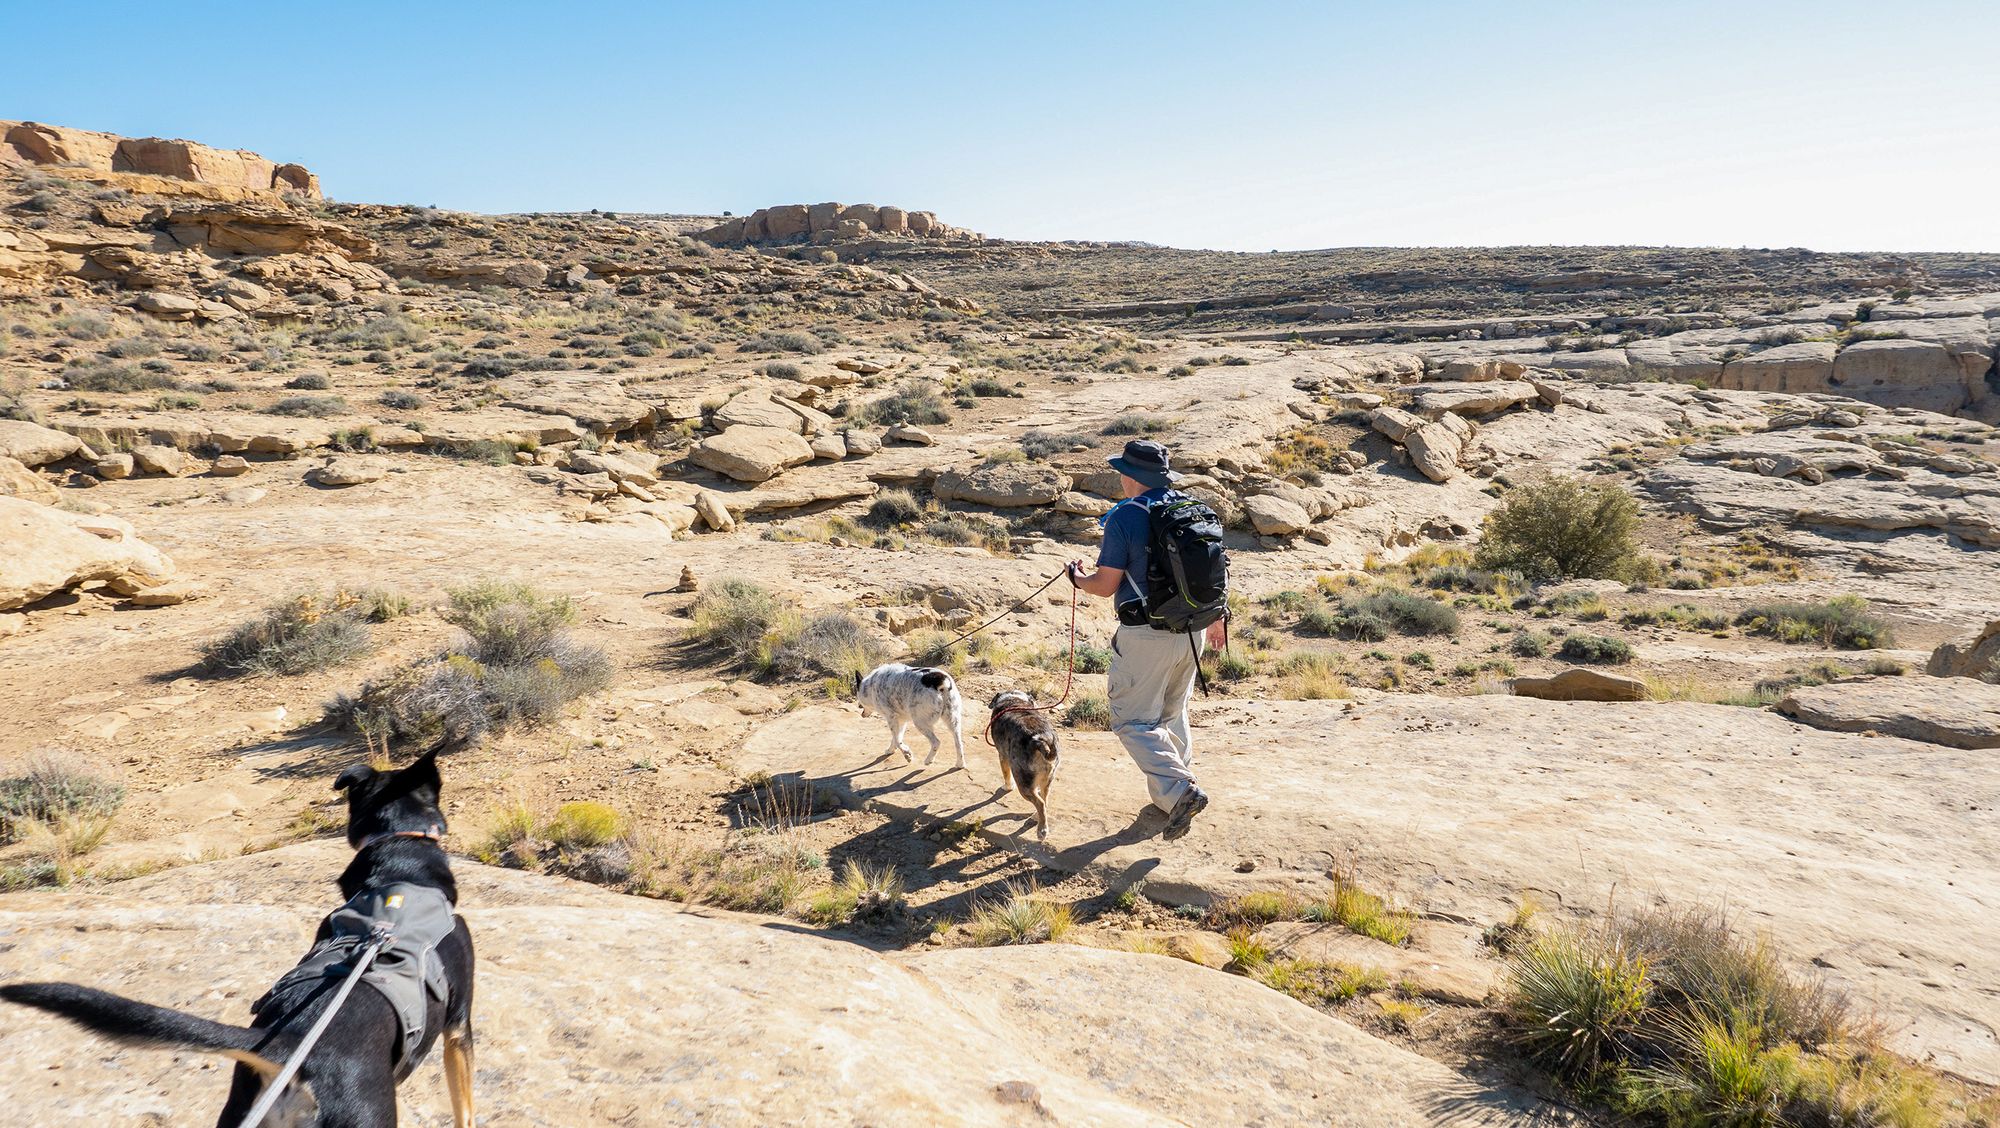
Dog-Friendly Hikes
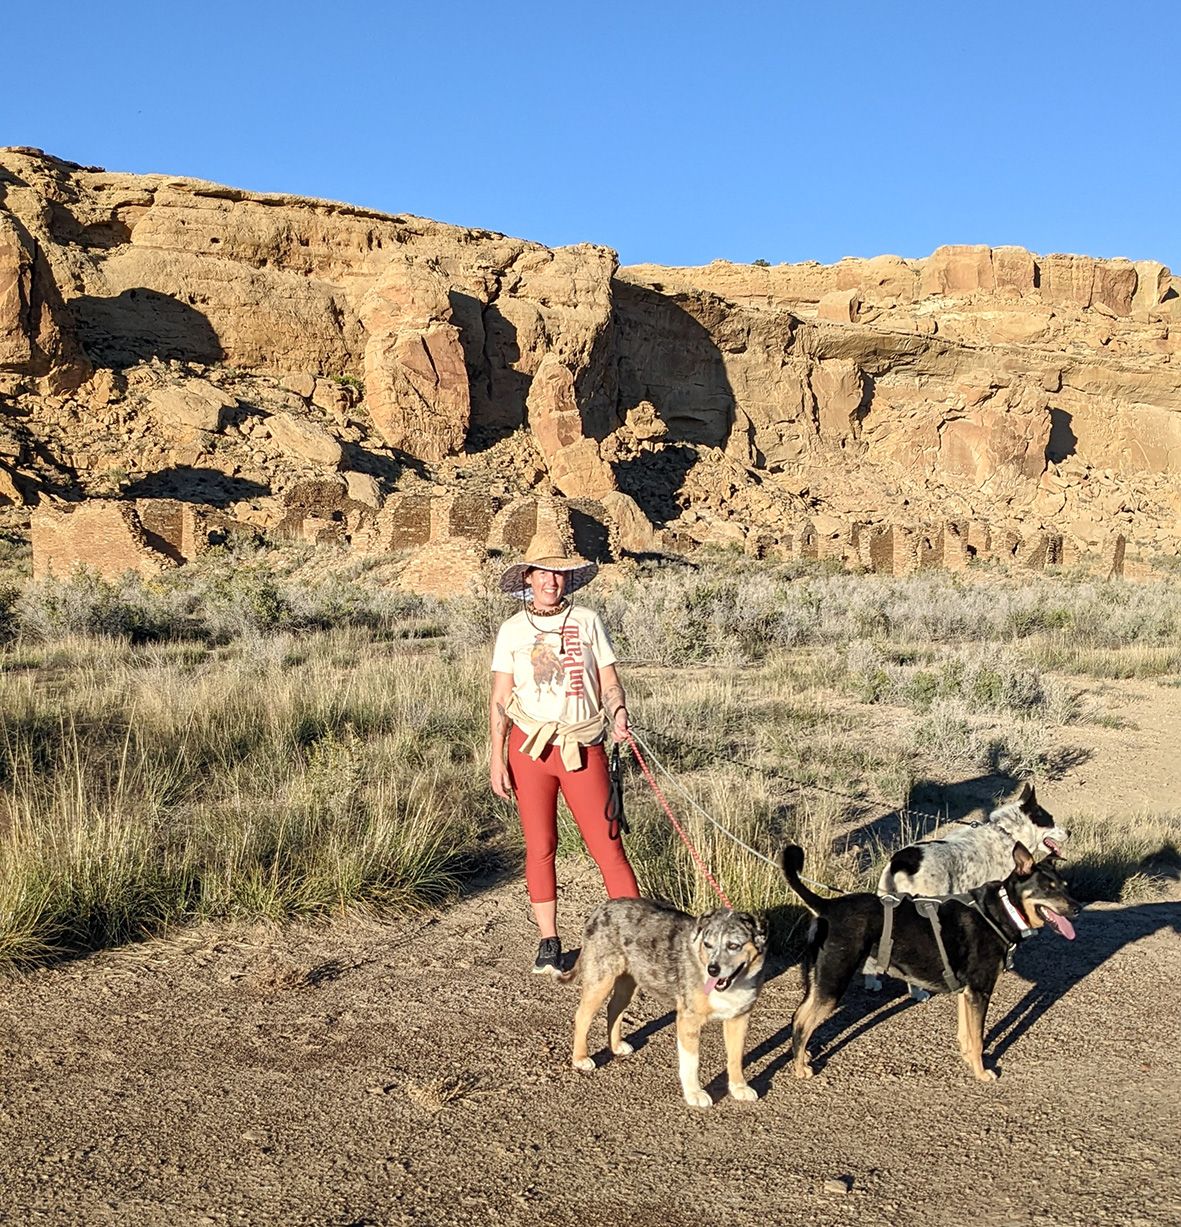
None of the ruins are dog friendly (understandably). But there’s still tons to do with your dog! Dogs are allowed on all of the backcountry hikes, which are easily accessible from the park’s driving loop.
We did most of them or at least part of each. Here are our favorites in order:
Pueblo Alto Trail
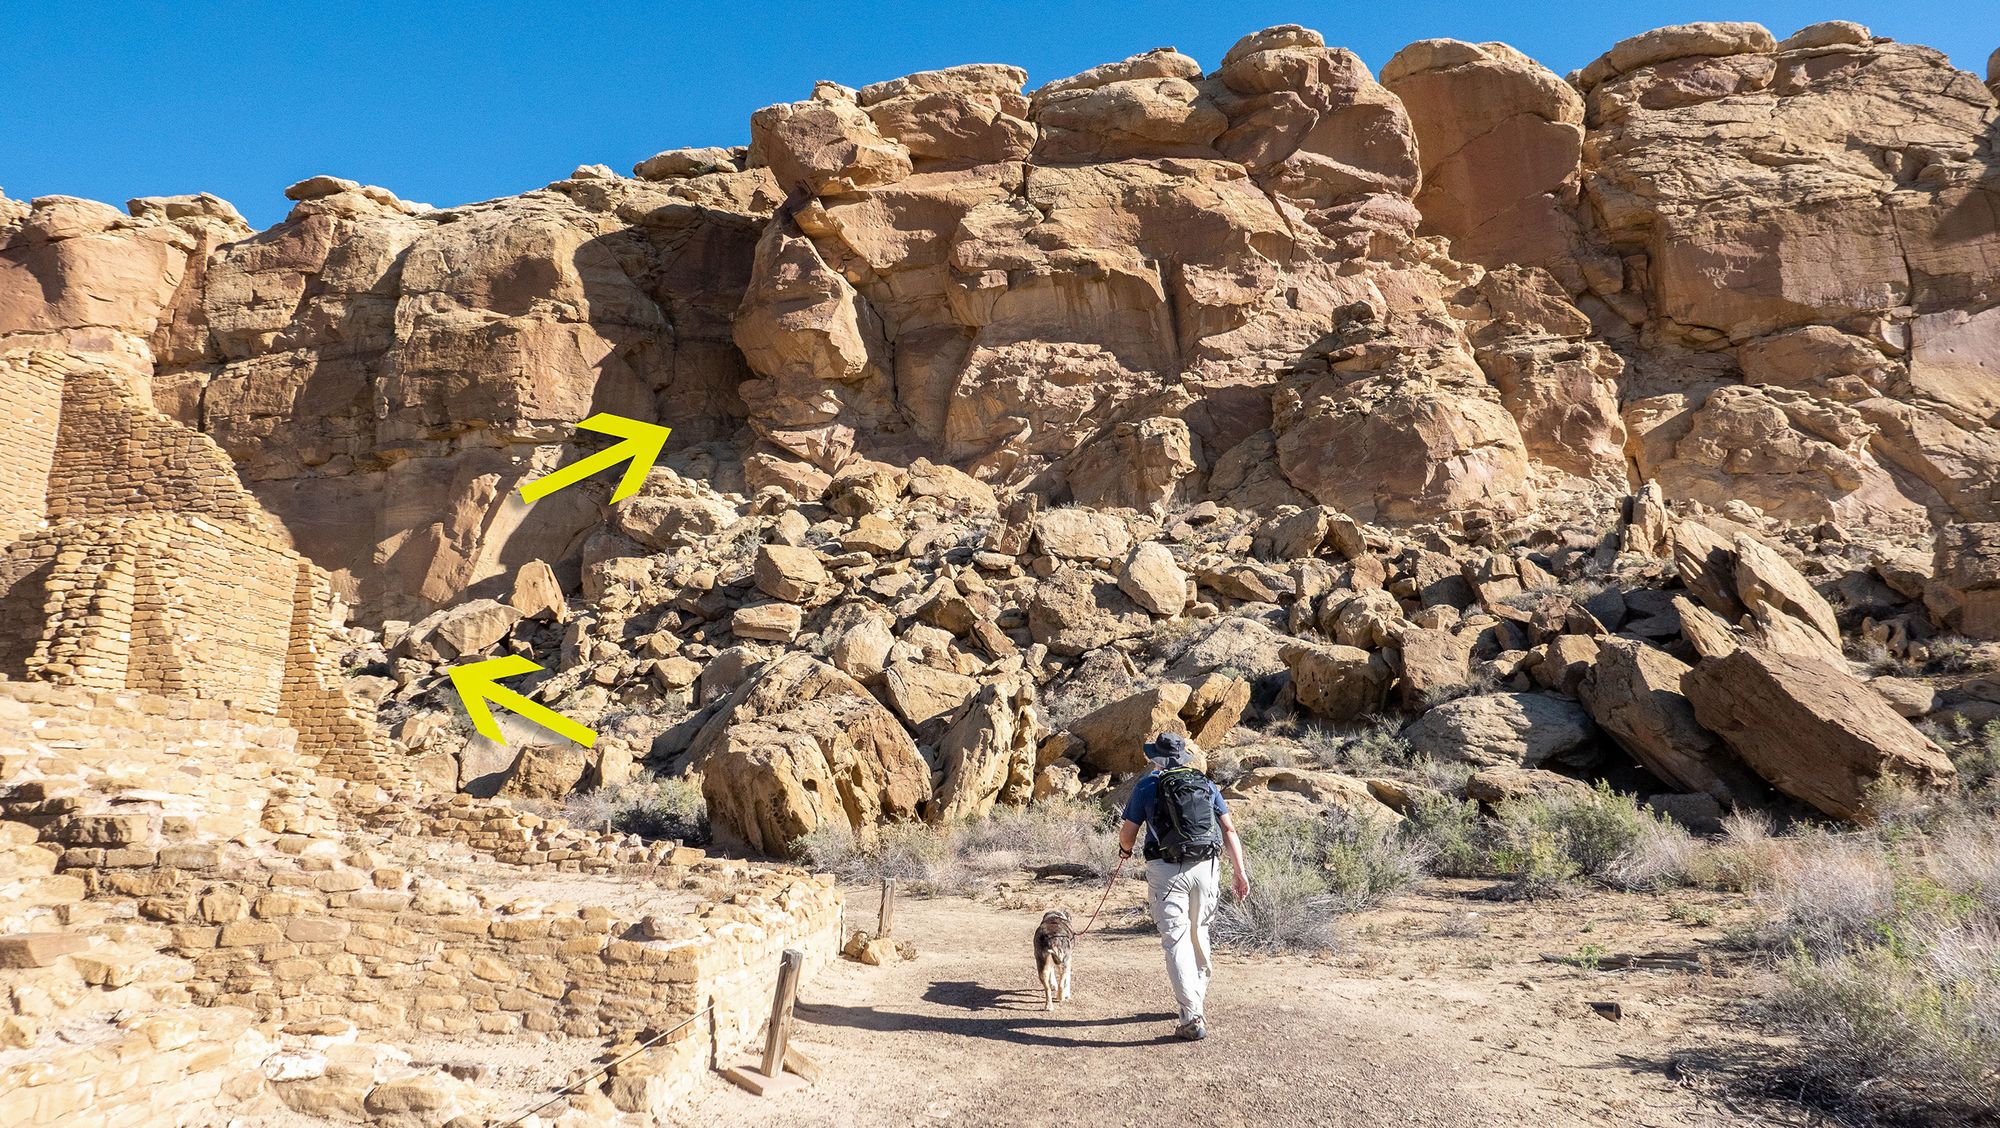
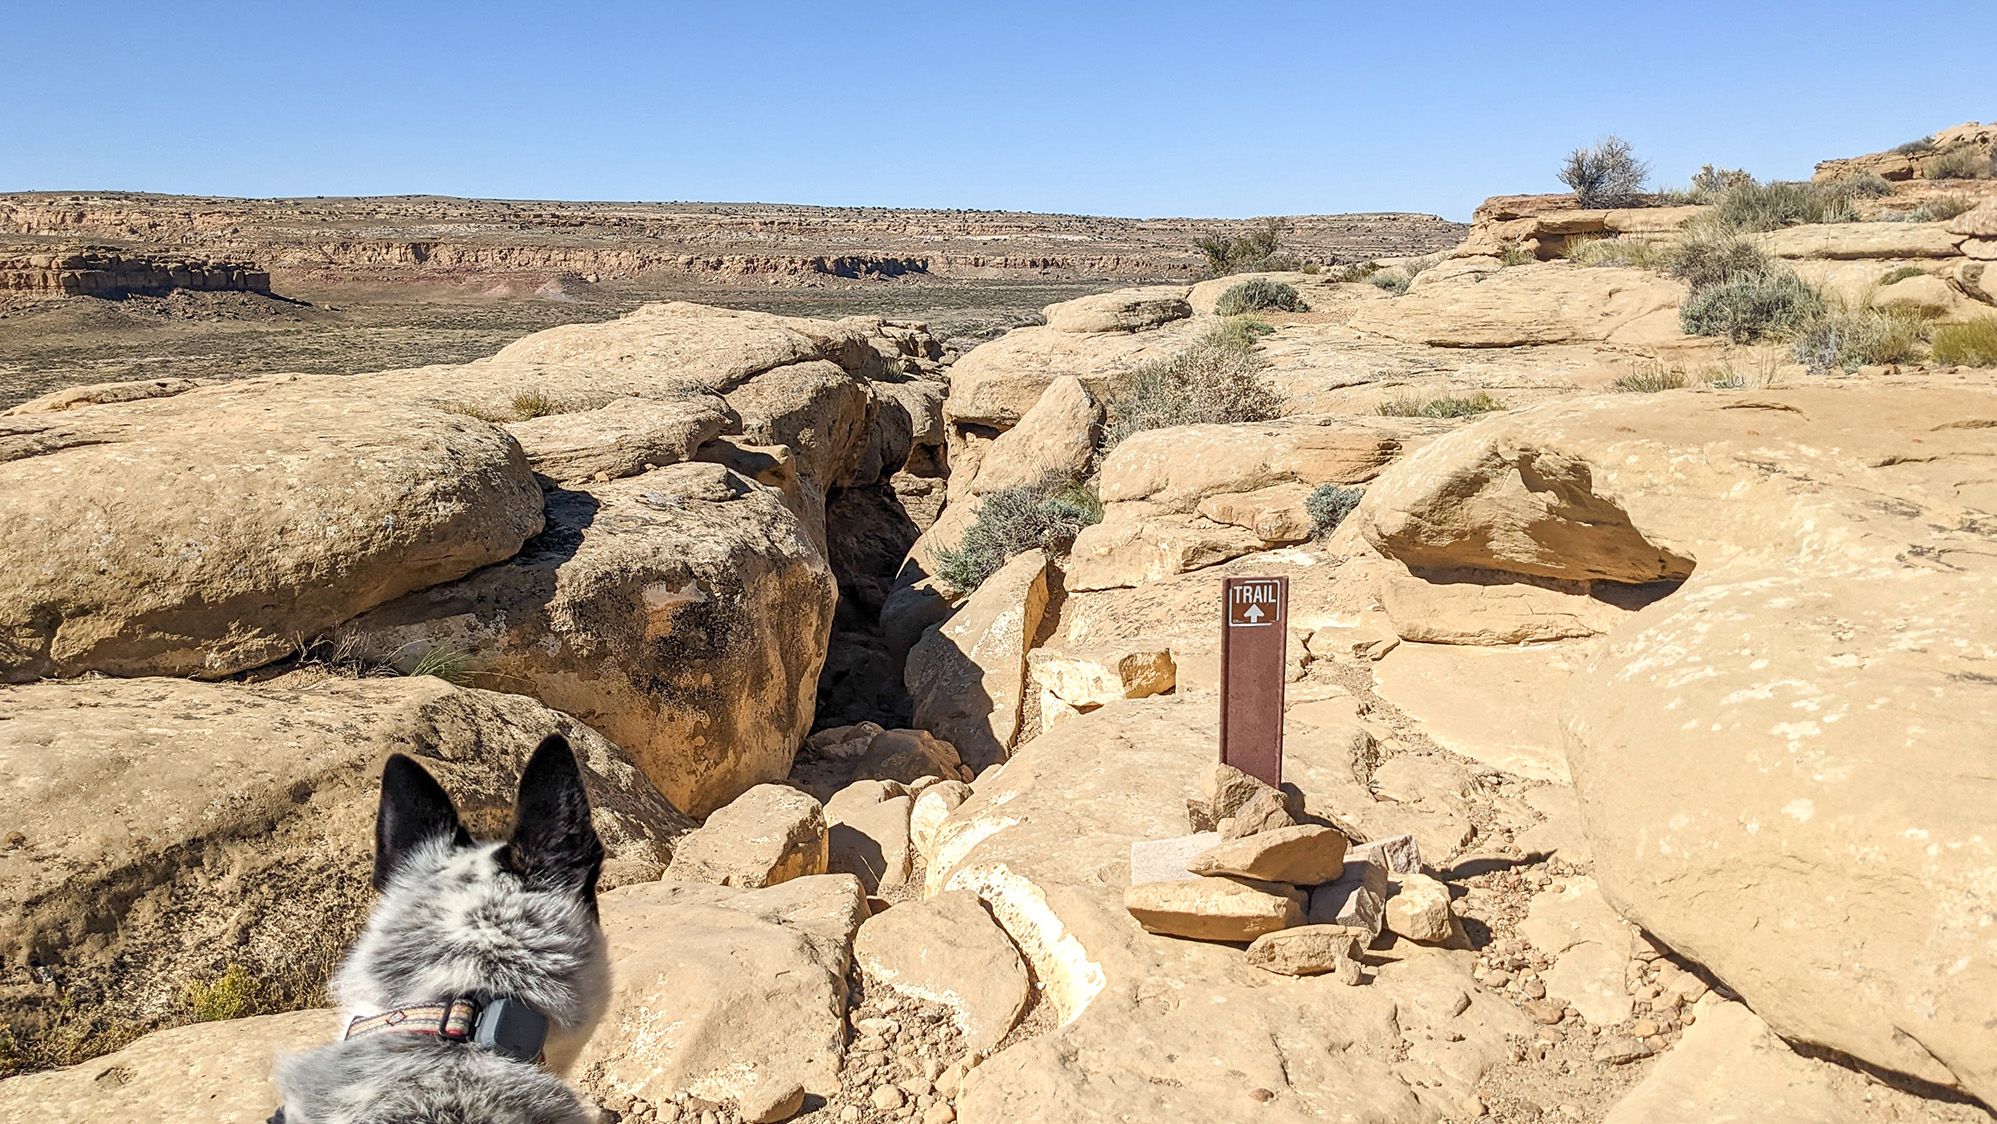
This was the most challenging hike we did, due to needing to climb on top of the cliff at the start and back down at the end. The brochure says “Ascend the rocky slope to break in the cliff face, where a natural passageway leads through the crevice to the cliff top.” After experiencing it, I would suggest a rewrite for those with dogs. Something like this: “Looking at the cliff? Don’t see a trail? Great, you’re in the right place! Scramble up the loose rocks while trying not to slip or argue with your dog as they inevitably pick the wrong route, jump a huge boulder and quickly slingshot back into you from their required 6’ leash.” It took us less than 10 minutes to reach the top, but as soon as we got there we both needed to sit and take some deep breaths.
Once at the top it was smooth sailing! The trail is well marked with cairns. Be prepared for almost no shade though throughout your hike. We found one overhang that was shaded and allowed for a cool snack break.
We went to Bonito Overlook and hiked up far enough to see Pueblo Alto and New Alto in the distance. At that point, we decided to turn back instead of doing the full 5.1-mile loop since the sun was strong and the dogs were panting.
Unfortunately, you have to go down the way you came up, which for us meant being pulled downhill by anxious dogs. We had a few hikers watching us from the bottom and they seemed impressed/shocked we chose to do it with dogs as it’s rather difficult on your own. If your dog gets nervous with heights or needing to jump large boulders, you may want to skip this hike.
South Mesa Trail
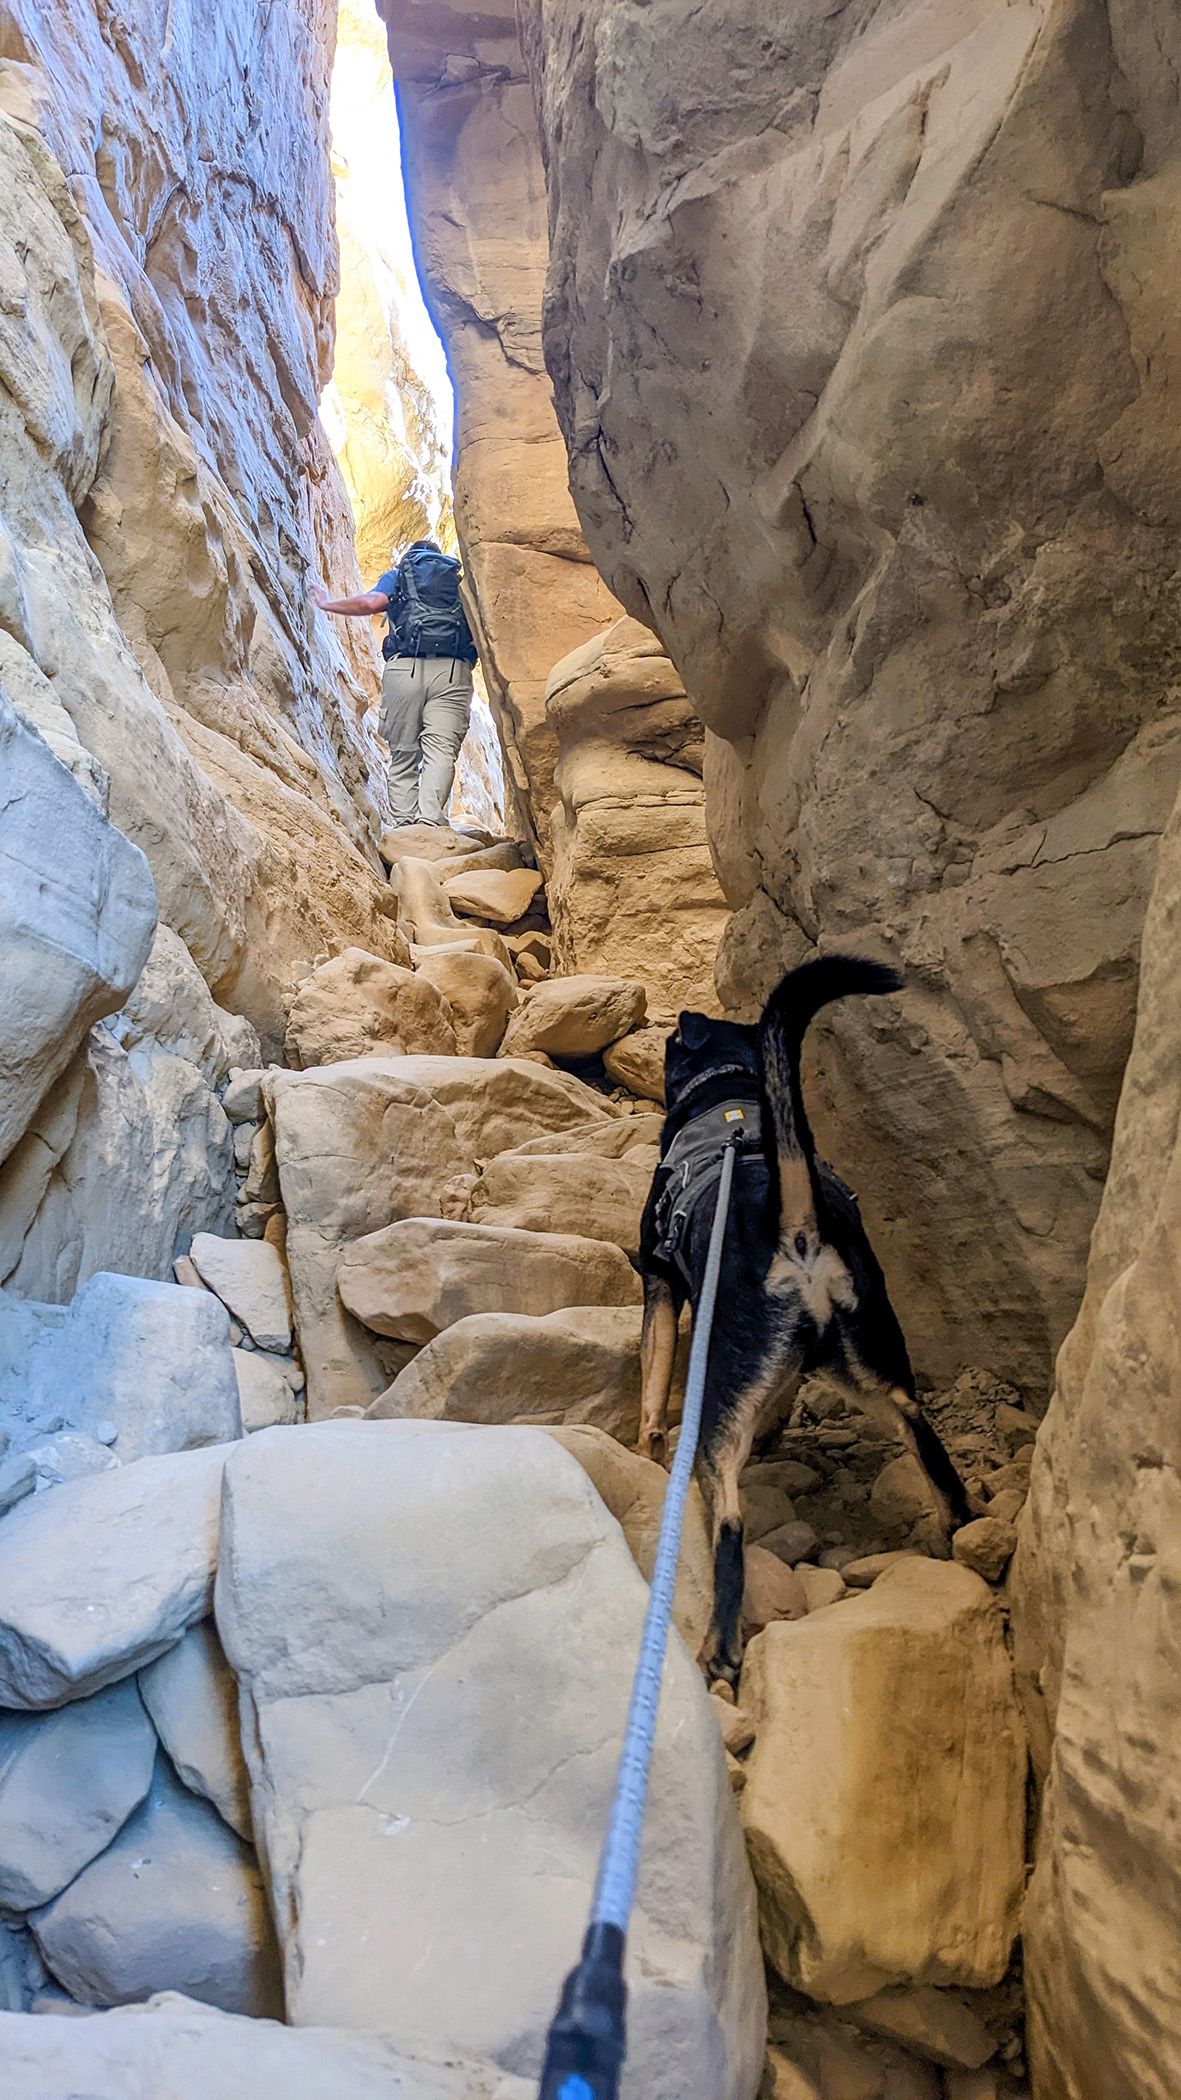
This ended up being an unexpected treat. We did this hike on a cloudy morning which made it much more pleasant and cool for the dogs. You can do this trail as a 3.6-mile loop, but since we did this on our last day, the dogs were a bit tired so we chose to go to Tsin Kletzin and back (brochure says 2.6 miles, Tommi's GPS said 3.9 mile total for us, and it took us about 2.5 hours with some breaks). From the parking lot, you'll follow the trail past the ruins to start your ascent. Like other backcountry trails here, there are some steep sections and loose rock, but overall it was much more manageable than the Pueblo Alto trail. On our ascent, we saw a large pack of white-tailed deer which was really neat! The most difficult section is a narrow slot between the rocks where we had to let the dogs off leash temporarily to safely maneuver their way to the top. We humans had to remove our packs and shimmy through the narrowest section, but it was doable.
Once you make it past that, it starts to level out and becomes an easier walk.
As you approach Tsin Kletzin, the trail narrows to singletrack.
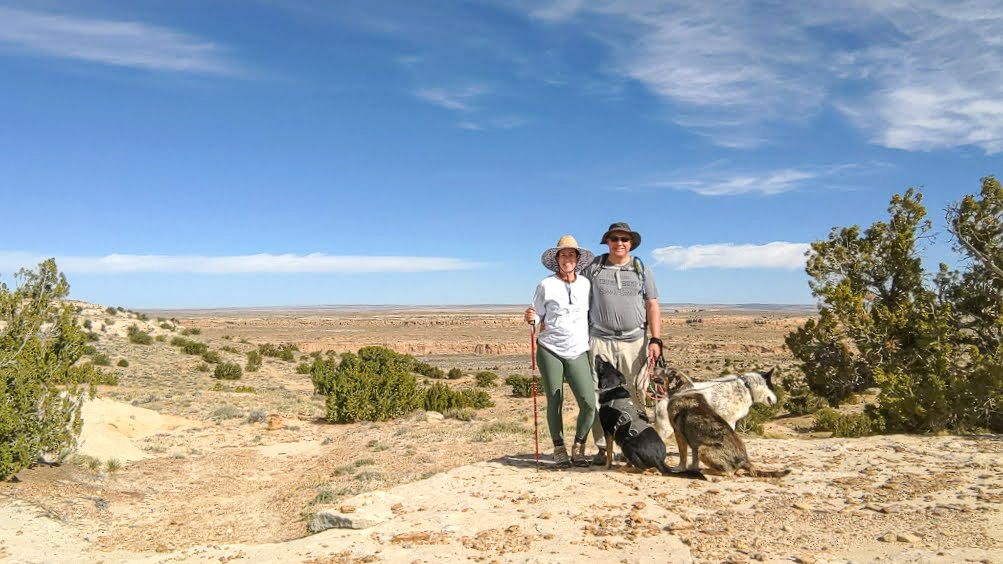
What made this hike so cool was that you really get an amazing 360 view from Tsin Kletzin. Most of my photos don't do it justice, but you can see nearby mountain ranges and some researchers believe that this great house was perched atop this cliff to connect Chaco with other distant communities by fires or reflectors used for signaling. Once at the top you can see why.
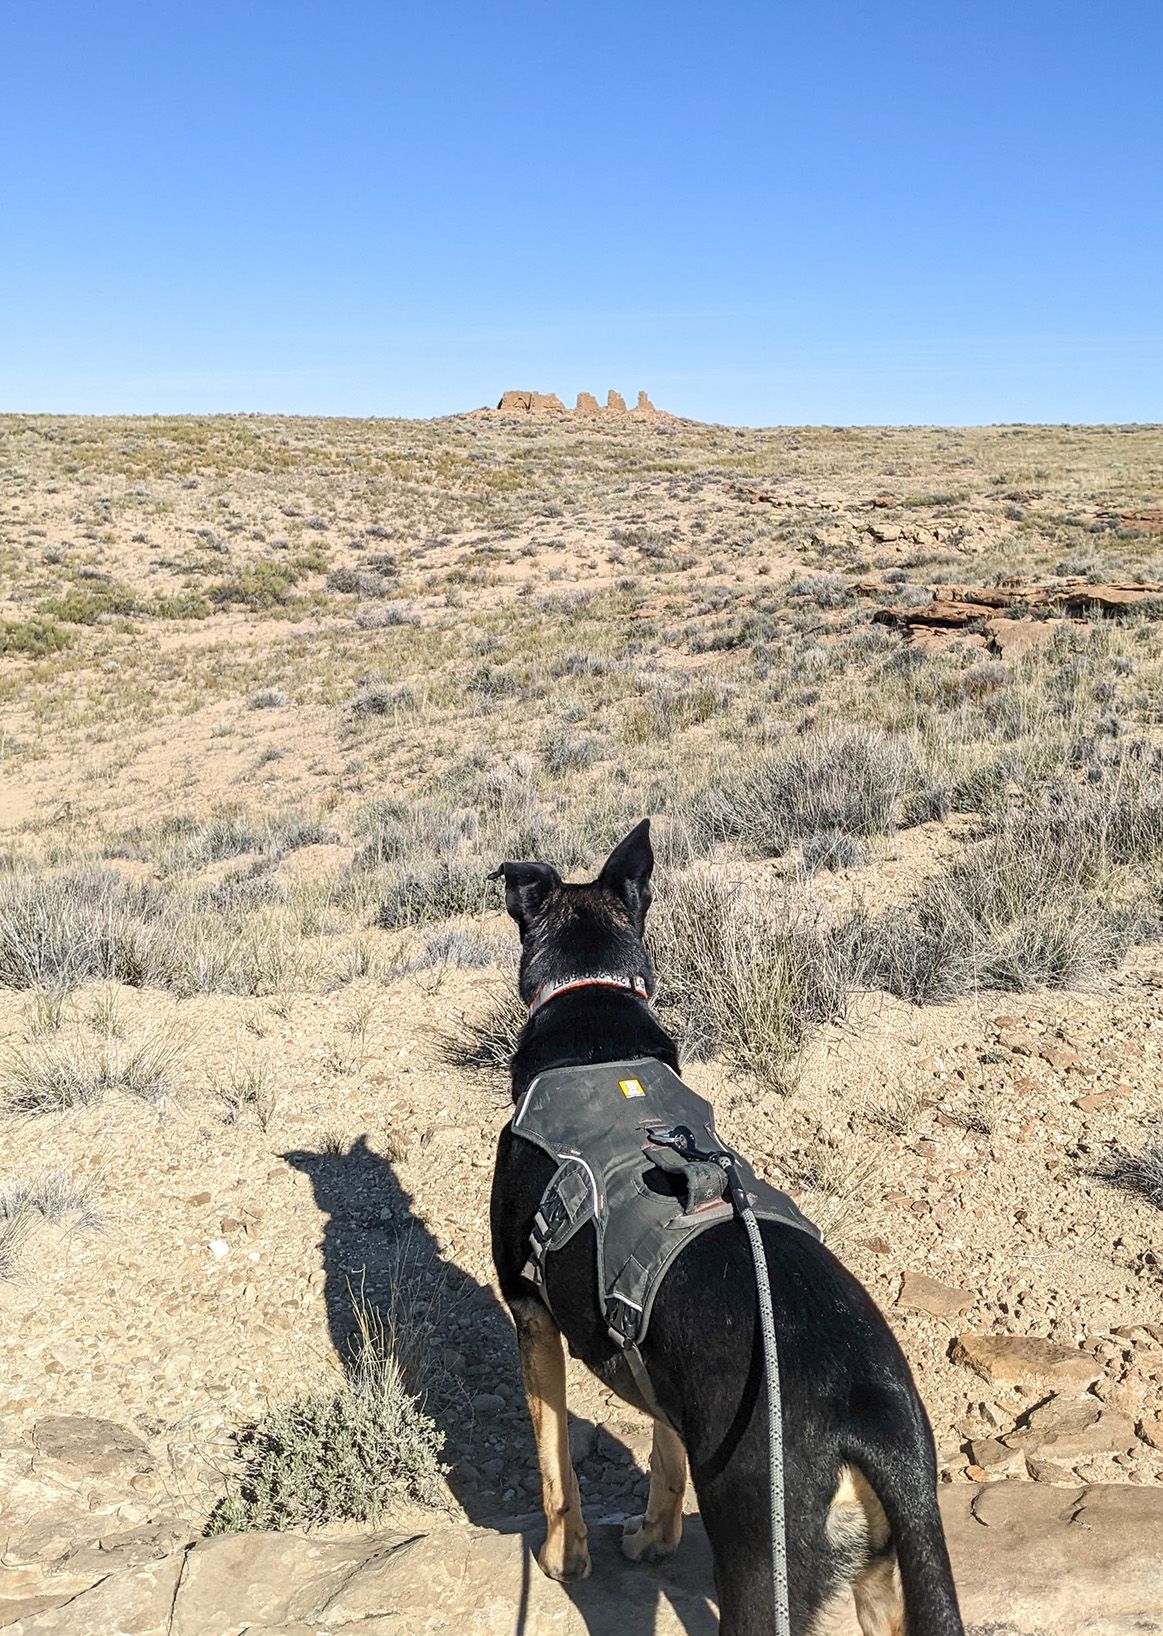
Wijiji Trail
This 3.2-mile trail is walkable from the campsite (or an easy pull-off from the park’s main road). It’s a completely flat hike, following an old road track, and was the easiest backcountry hike we did (like most, there's no shade though!)
It took us just under 2 hours to complete. We took turns holding the dogs while the other person explored the Wijiji great house. On the trail, we passed other hikers and a family of mountain bikers.
Canyon Overview Trail
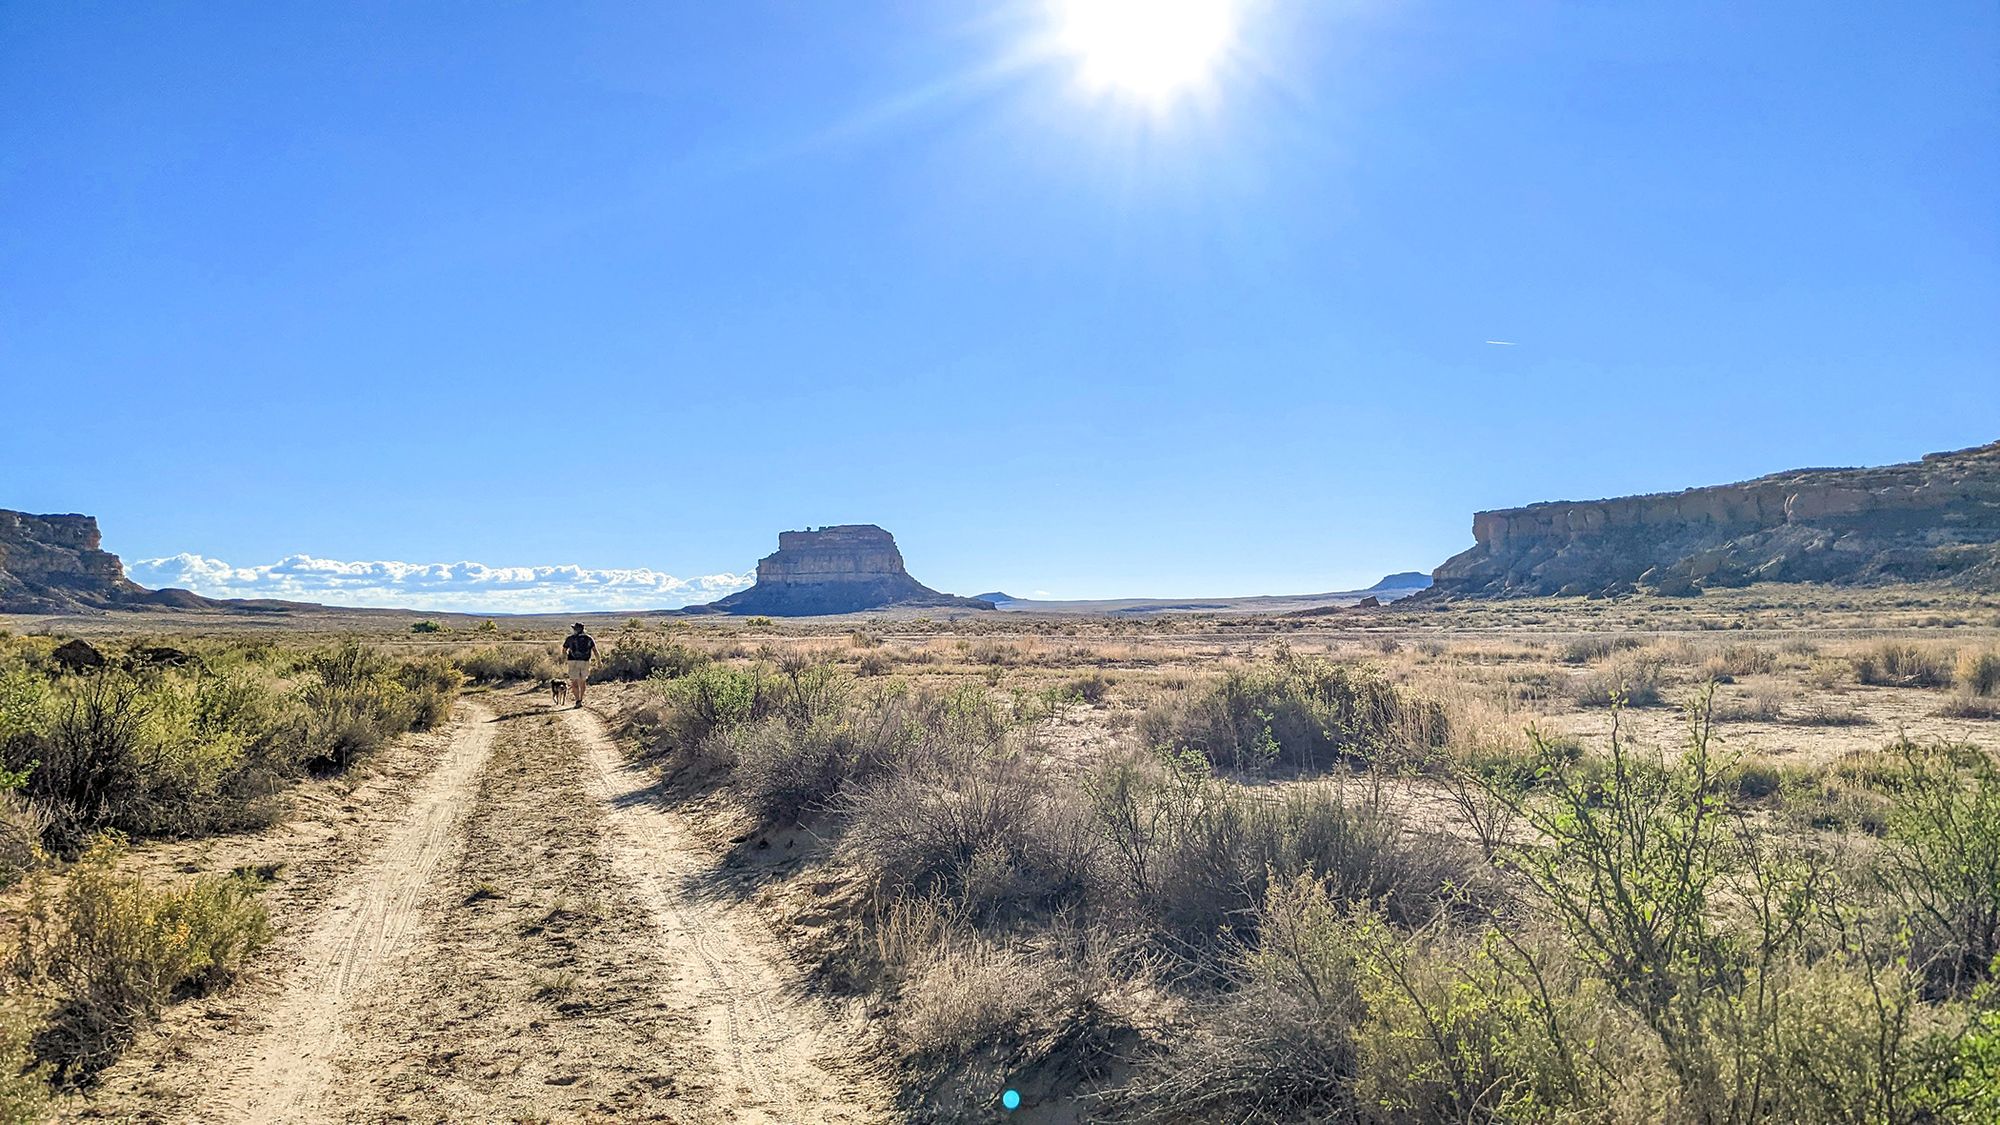
This hike originates from the Gallo Campground, near camp host B site closest to the cliff. After some short switchbacks, you are on top of the cliff and can walk along the edge to a great view of Fajada butte.
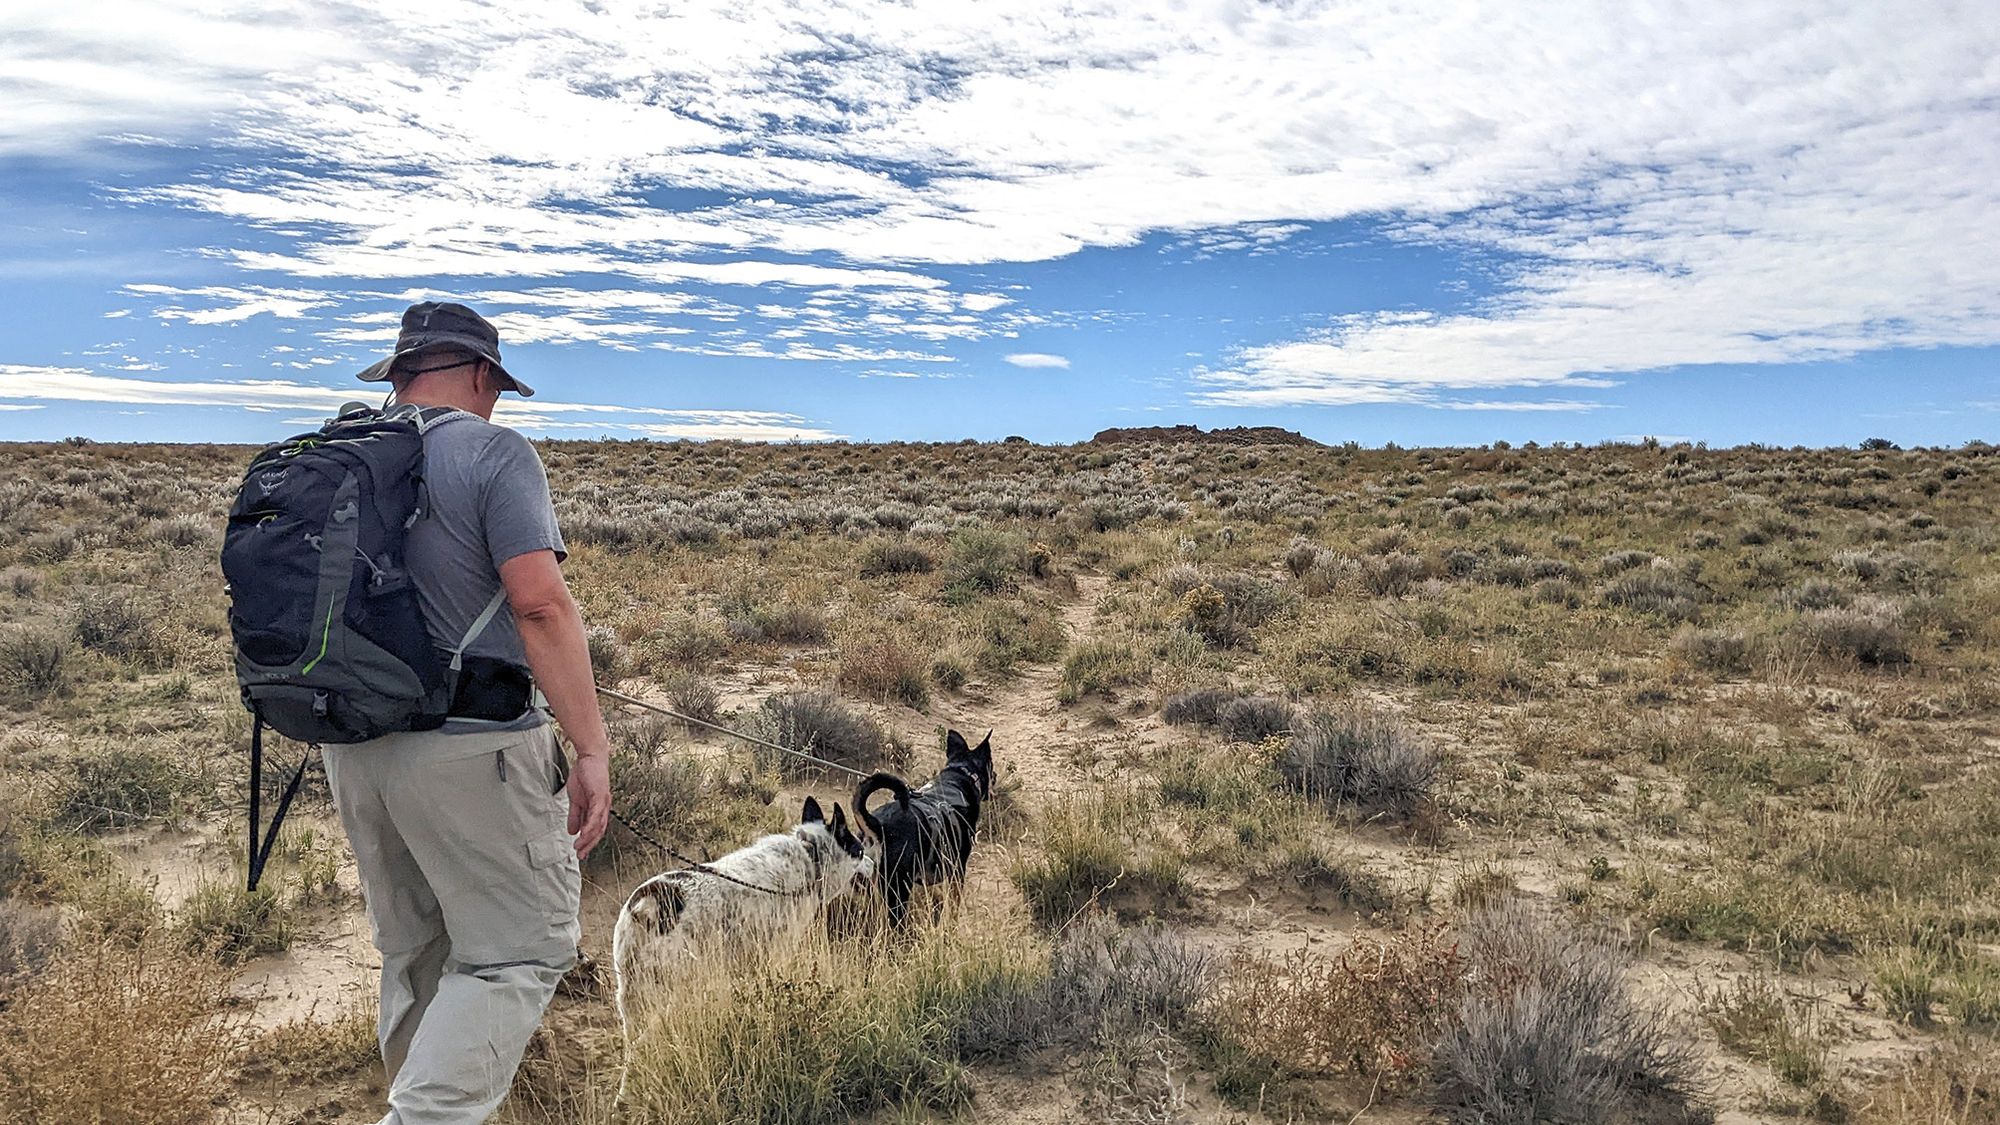
The only backcountry hike we didn't do was the longest one, Penasco Blanco Trail. We walked the dogs at the beginning of that trail, and it's a road track that was very flat and easy to walk. The rest of the hike is said to be flat, getting sandier as you go further.
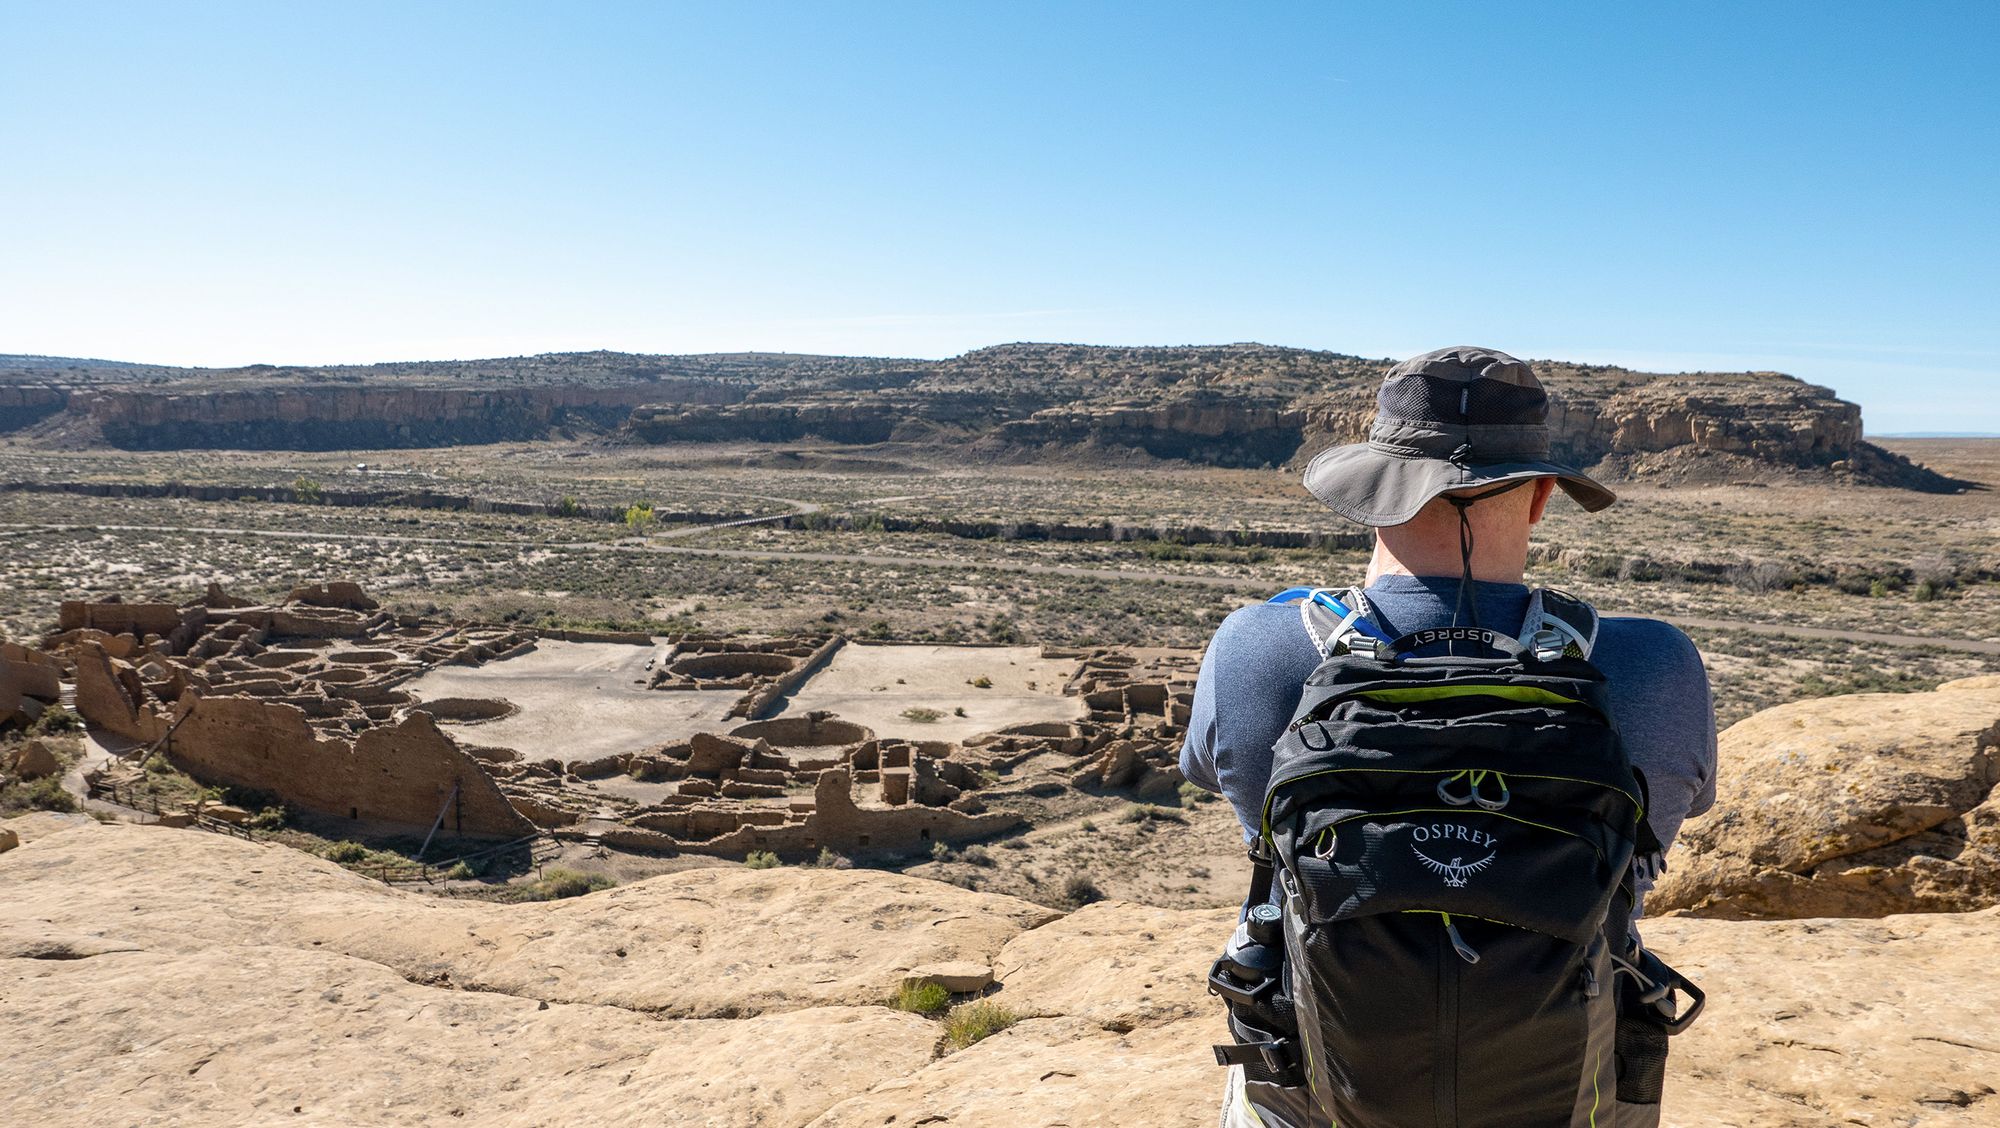
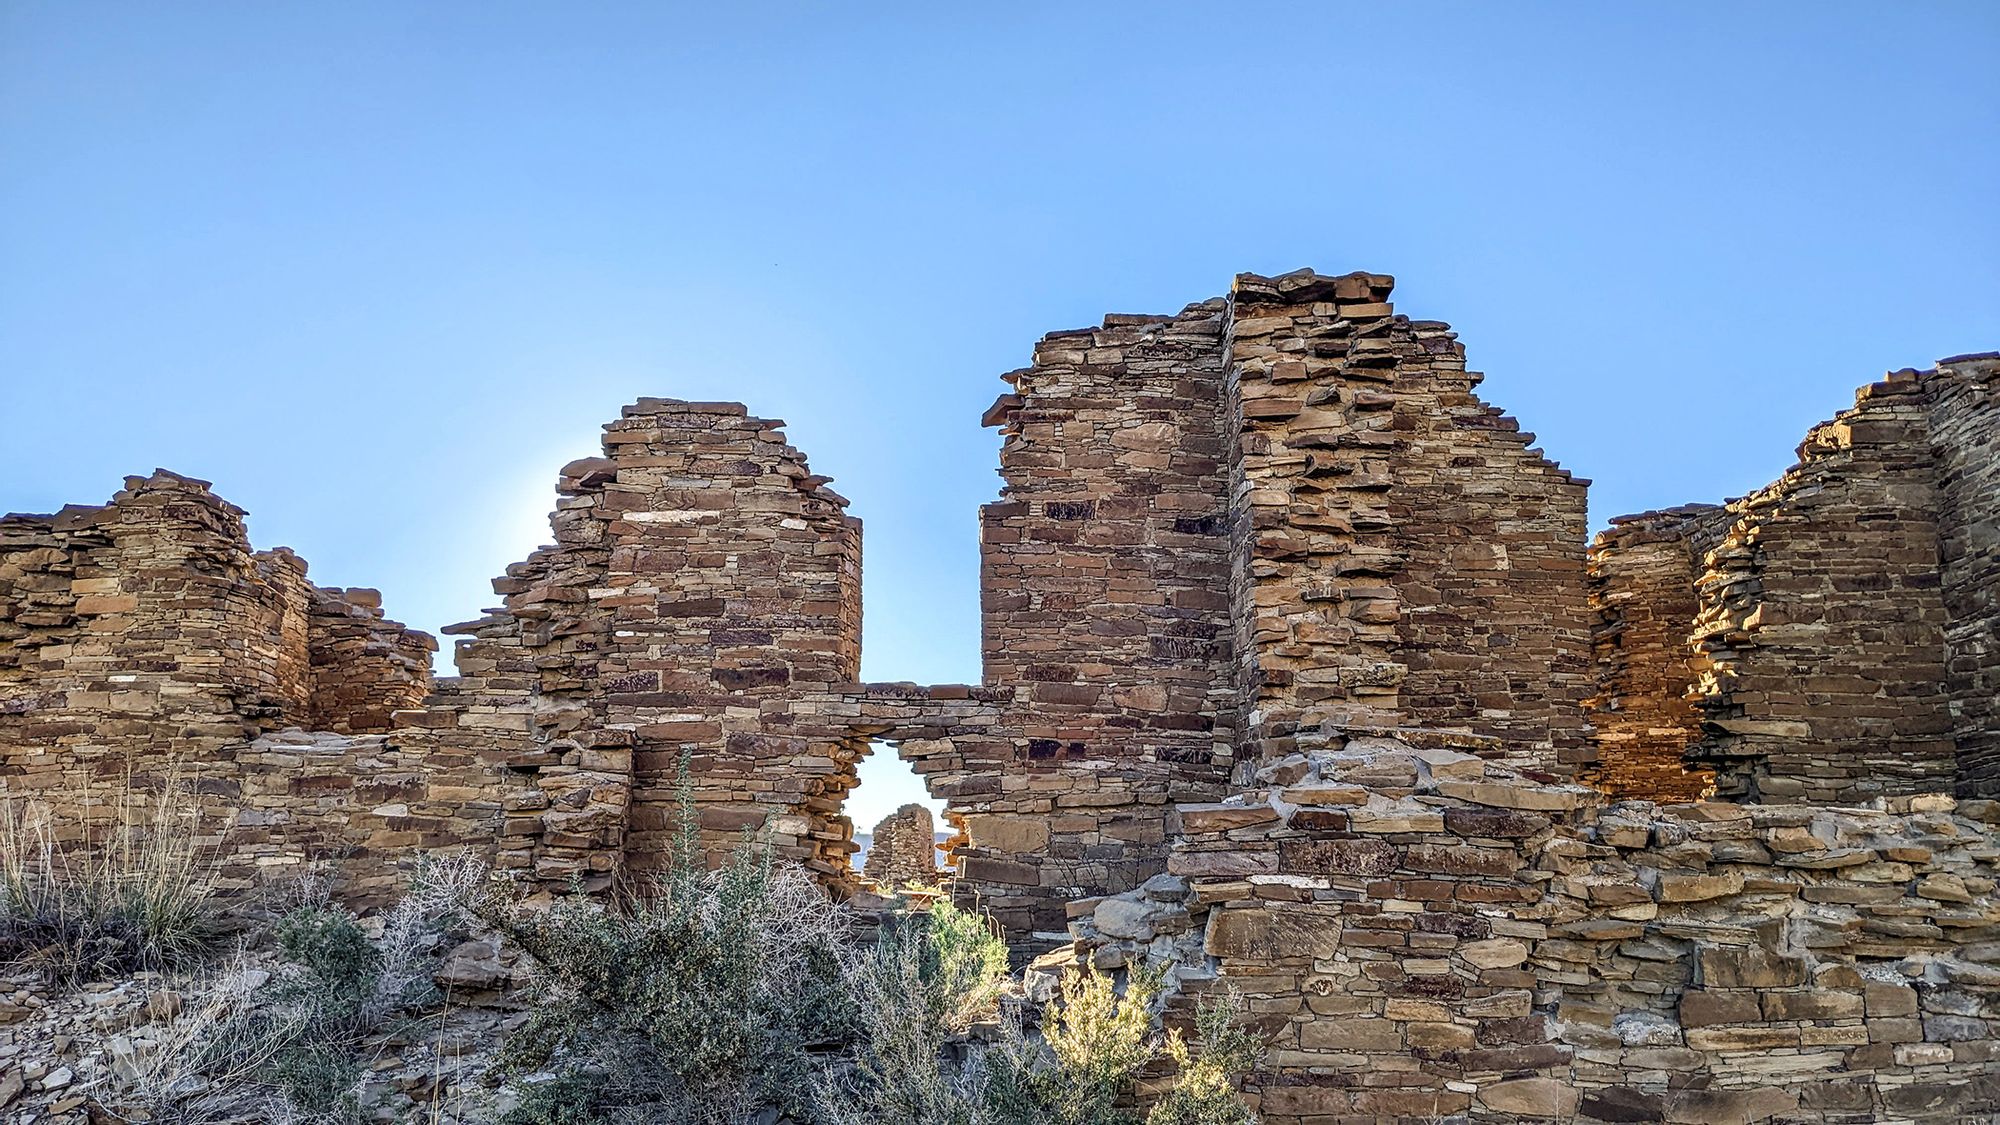
Pueblo Bonito
Pueblo Bonito is the centerpiece of the park. We took turns exploring it while the other person waited in the van with the dogs since dogs are not allowed within the ruins.
There's a marked trail walking through the ruins that you must stay on, with a little bit of freeform exploration allowed in the plaza area, and a choice of whether you want to go through the low doorways or skip that section. Tommi is 5'10" and managed to make it through all but one doorway without putting a knee on the ground — marker #17 is a dead-end entrance to a well-preserved room with a very low doorway, but since it's an offshoot of the walking path, you don't need to enter if you don't want to.
You will get much more value out of your tour if you buy the $2 booklet from the visitor center. It contains a few paragraphs of explanation about every numbered marker you'll see and an overview of the walking path through the ruins. There are practically no informational signs at the site itself.
If ranger-led tours are offered at the time of your visit, I'd recommend trying to get into one of those. If not, maybe consider stopping at the Aztec Ruins National Monument to hear more about the history and architecture of the area.
Protips
- If traveling with dogs, go during the shoulder seasons (we can’t imagine how hot this place gets in summer!)
- Don't forget a 6' leash for your dog.
- Pack a wide-brimmed hat, sunscreen, good hiking boots, and hiking sticks if you like using them.
- Hike early before it gets too hot.
- Watch for snakes (we saw one gopher snake during our visit).
- Dump your tanks before heading out of the park to minimize weight and stress on tanks on the washboard road.
- Bring first aid supplies for you and your dog.
- There's no cell service within the canyon, but I had good Verizon service as soon as I climbed out of the canyon on top of one of the cliffs during our backcountry hikes (no T-Mobile signal, don't know about AT&T). The easiest/quickest way to do this would be the Canyon Overlook trail that starts from Gallo Campground. Tommi jokingly called this "social media hill." Wear hiking boots even if you’re just going the short distance to the top! I underestimated it and hiked it in running sneakers, lost my footing when the dogs reached the end of their 6’ leashes and I slipped and fell, tweaking my ankle and calf muscle.
Recap
We had been wanting to go to Chaco for years and it didn't disappoint. We loved how dog-friendly it was and as long as you're okay with driving on somewhat unreliable roads and dry camping — it's absolutely worth the trip!
This post originally appeared on https://fmcadventure.com/2022/11/21/visiting-chaco-canyon-with-dogs/